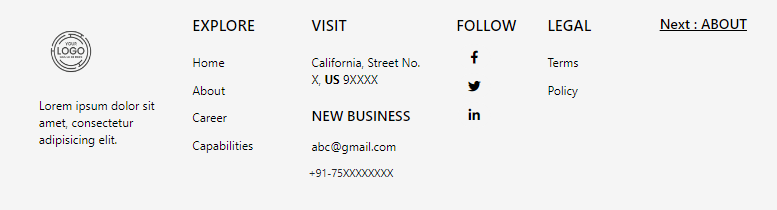
THE END GOAL IS THIS
Step 1 - Right now you are on the editor screen. As you can see below the screenshot.
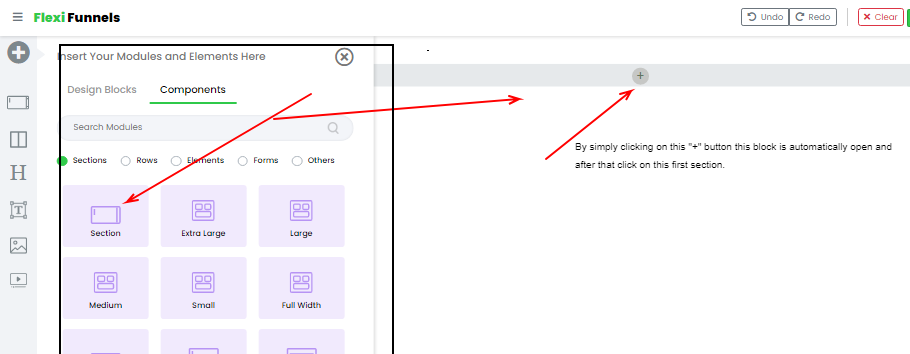
After that when you click on the section. Now it looks like this. (below screenshot)

Step 2 - Then add the “2 columns ” row setting in the section.

After clicking “2 Columns” then it looks like this. (below Screenshot)

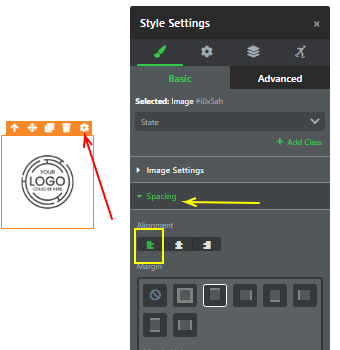
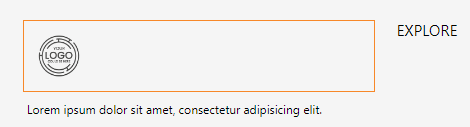
Step 3 - Add a logo image in the 1st column.
By simply double-clicking on the image you will find an option where you can upload the image. After adding it, align it to the left.

Step 4 - Add a paragraph element below that LOGO image.
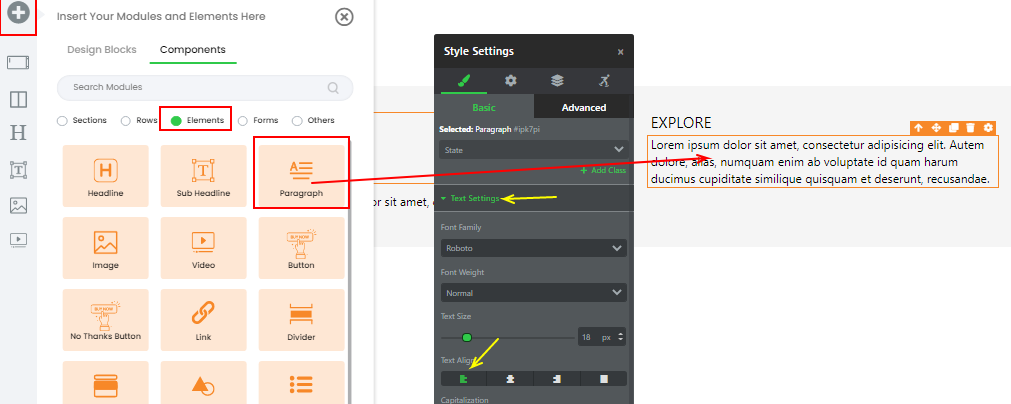
By simply clicking on the “+” button(which we marked as a red box in the screenshot below) and dragging a paragraph element and putting it below that logo.
And change the alignment similar to the image icon.

Step 5 - Change the text and text setting of the paragraph element.
By simply double-clicking on it.

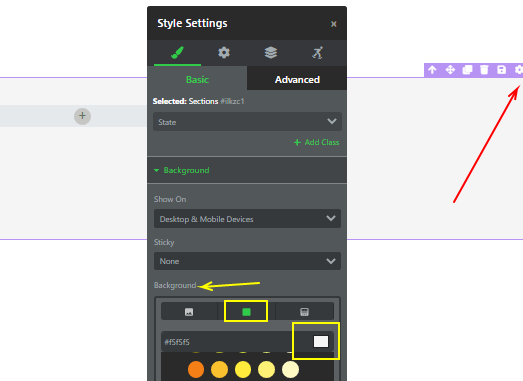
Step 6 - Change the background color of the whole section.
Step 7 - Now add a sub-headline and put it in the 2nd column . Change the alignment and text as we described in the previous screenshot.

After changing the text it will look like this.
Step 8 - Now add a paragraph element in the 2nd column below the “EXPLORE” text and change the text and text setting as we described in the previous screenshot.
Step 9 - After changing the text give some spacing so that it will be good and clear.
Changes have to be made which we marked yellow in the screenshot below.

Step 10 - Now Just make 3-4 clones of the “HOME” text and change the text which we already described in the previous section.

After changing the text it will look like this.

Step 11 - Now make 4 Clones of the 2nd column and simply change the text as we discussed in the previous section.
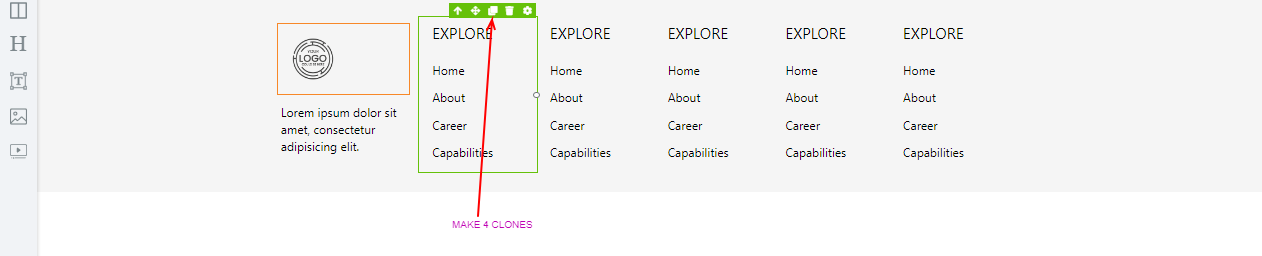
Now the section is almost completed you just have to change the text.
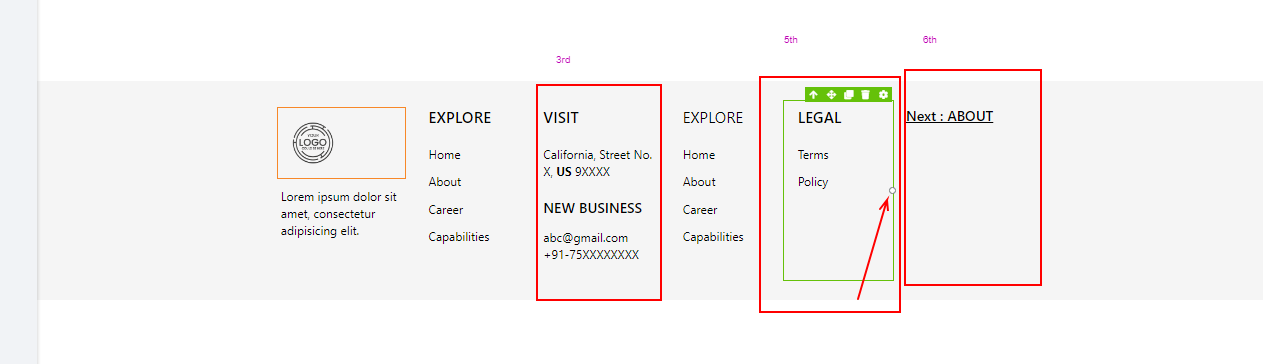
Step 12 - Now your 3rd column, 5th column, and 6th Column look like this.
If you want to adjust the column width, see the “WHITE DOT “(as we marked as red line) and you just have to drag It to left or right to adjust the width of the rows.
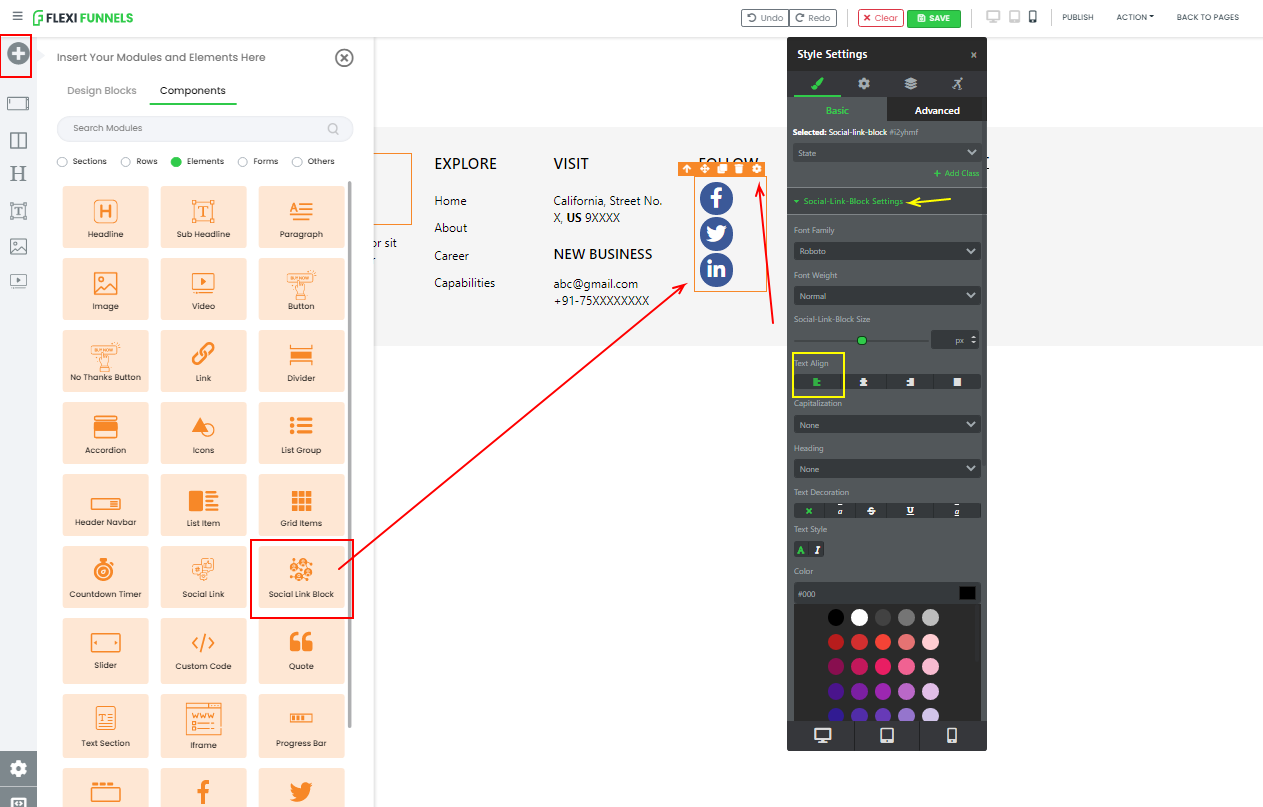
Step 13 - The 4th Column is remaining. You have to delete that “PARAGRAPH” element(Home, about,...) and add the social link blocks element, and change alignment.
Step 14 - Now just change the size, color, and BG color of the social icons.
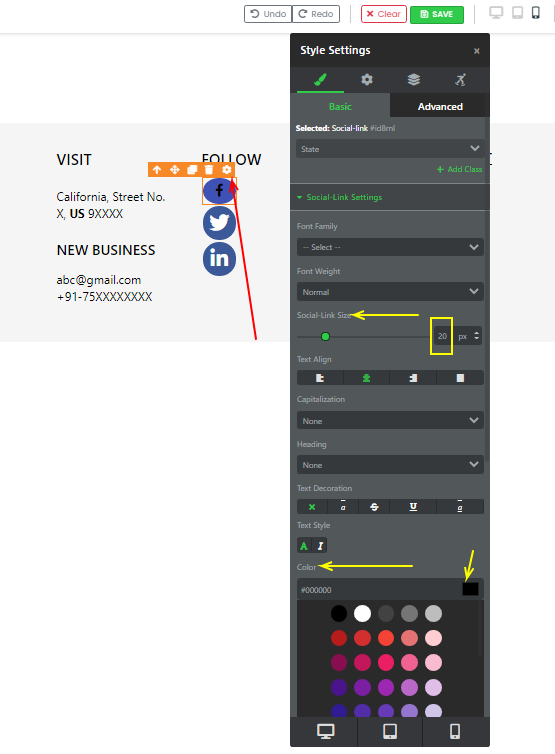

Similarly, change the other 2 and your section is completed.
Step 15 - Your section is ready and well done. You achieved your end goal. :-)

NOW, DO PRACTISE TO HONE YOUR SKILL.
Was this article helpful?
That’s Great!
Thank you for your feedback
Sorry! We couldn't be helpful
Thank you for your feedback
Feedback sent
We appreciate your effort and will try to fix the article