Why This Matters
By default, course emails (purchase confirmations, login details, upgrade notices) may show a generic or unbranded sender name. Setting up Sender Information makes emails appear from your brand instead — improving trust and reducing the chance students mark your emails as spam.
Before You Start
- Use a business email address you actually control (e.g.,
support@yourbrand.com), not a personal Gmail/Yahoo address — this affects deliverability and credibility - Have your brand/organization name ready exactly as you want it to appear
Steps to Set Up Sender Information
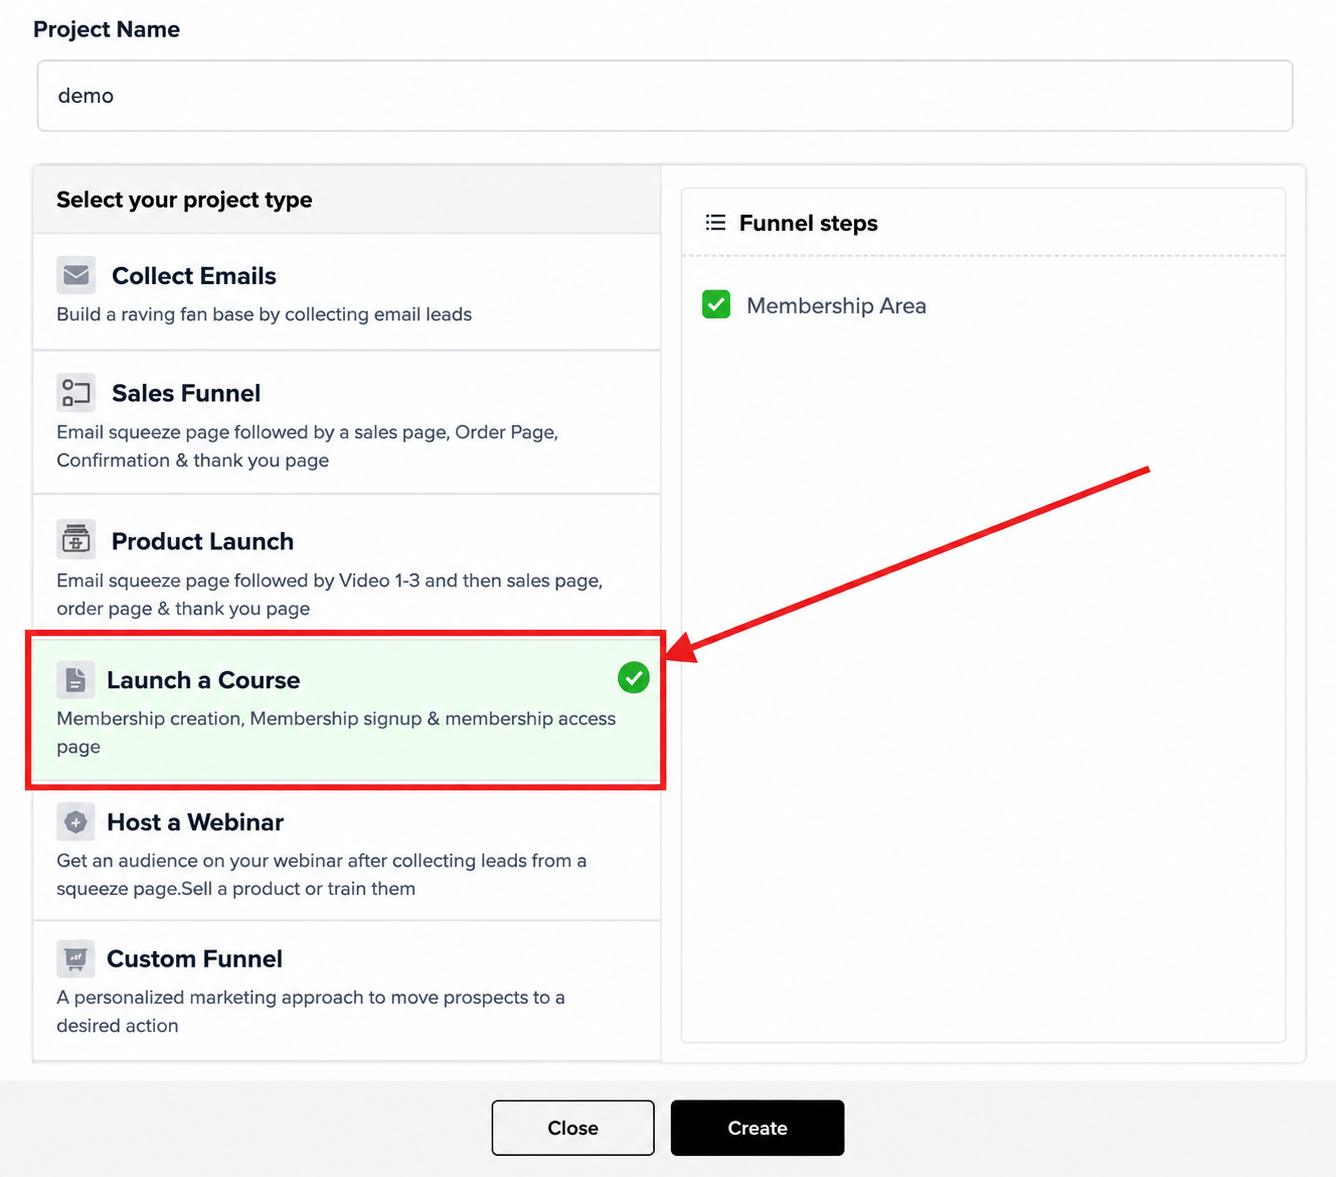
Step 1: Open Your Membership Project
Go to your FlexiFunnels dashboard.
Select and open the Membership Project where you want to set up the sender info.
Step 2: Go to Pricing Settings
Inside the Membership Project, navigate to the “Pricing Settings” tab from the left-hand menu.
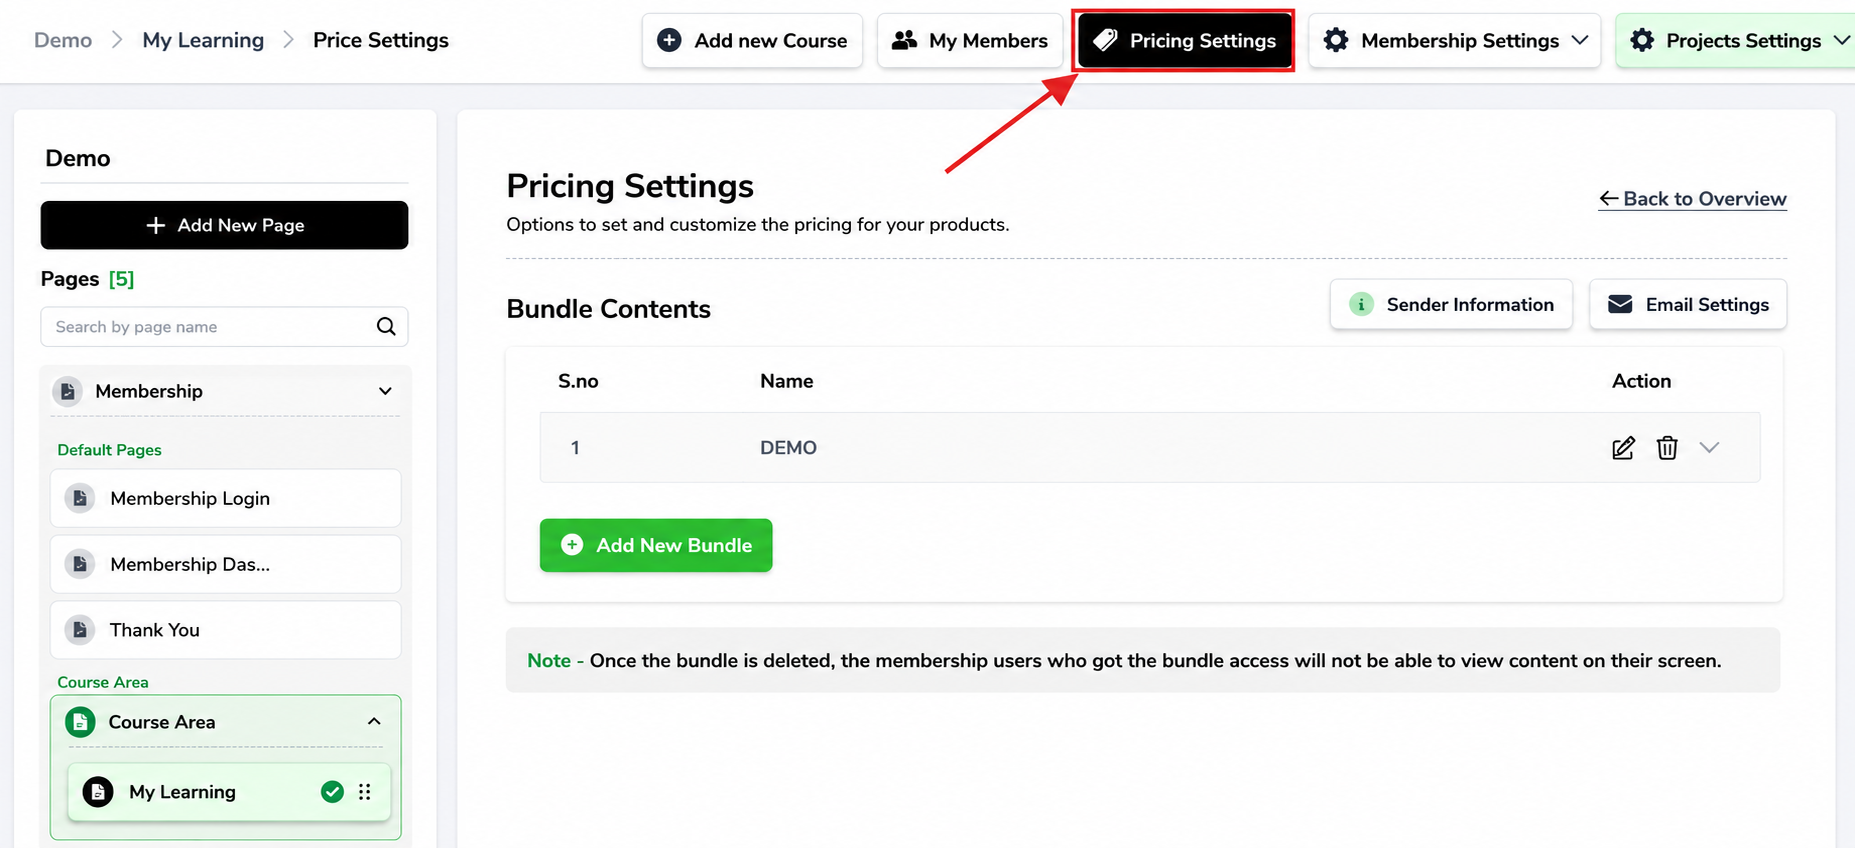
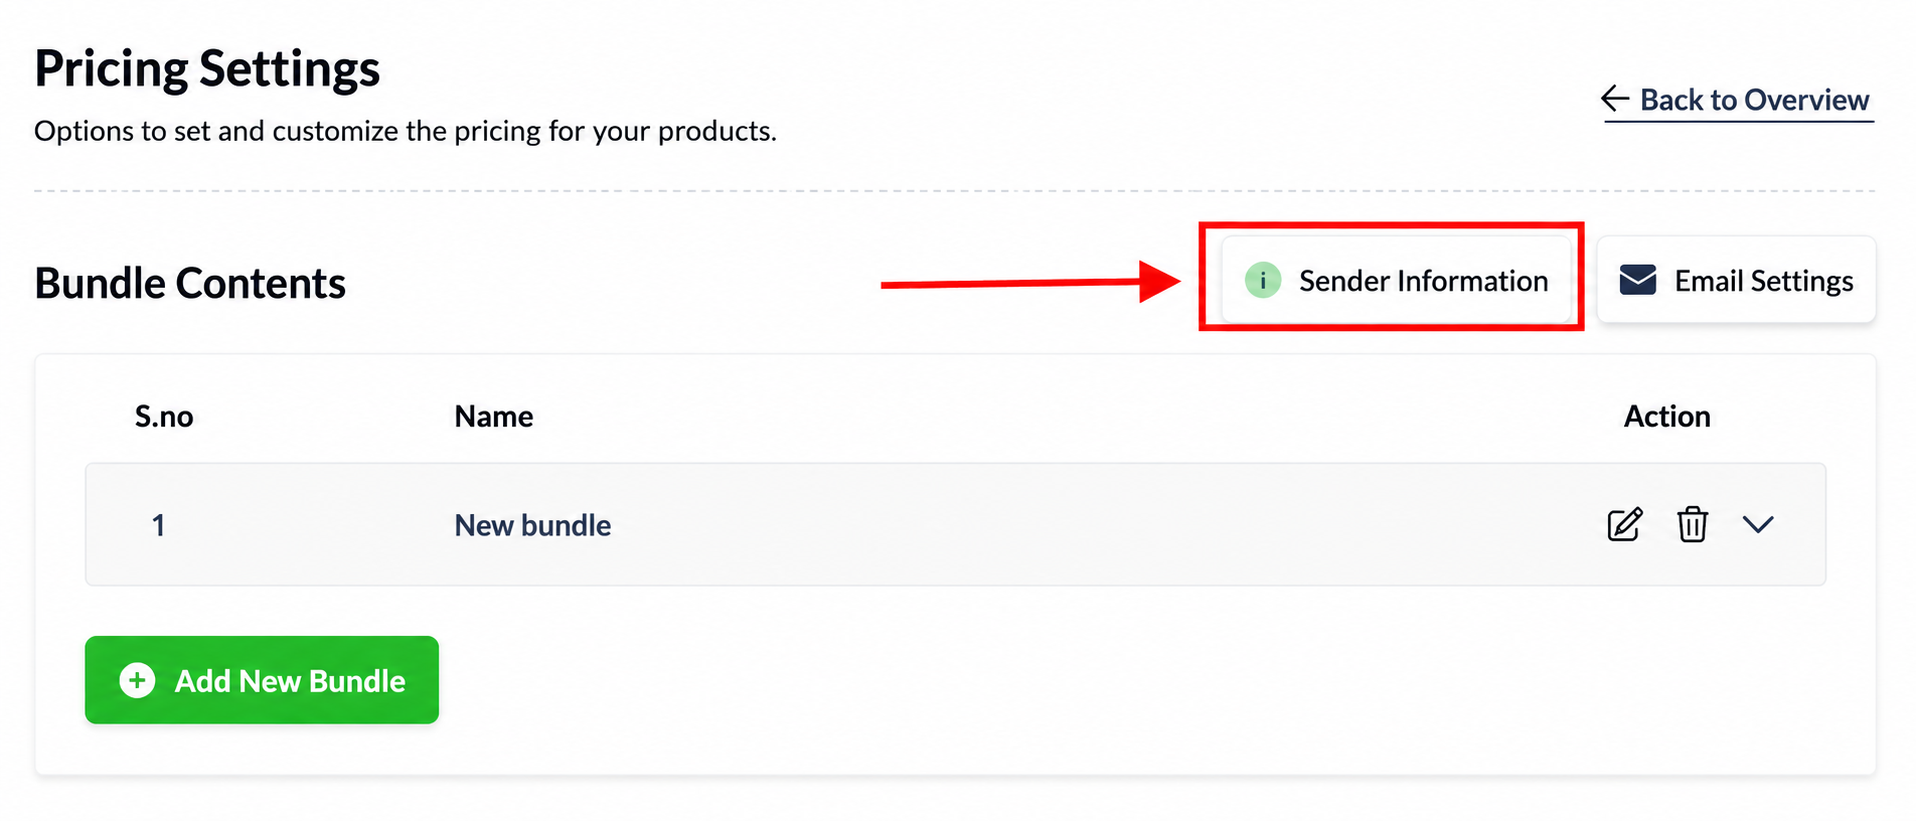
Step 3: Click on "Sender Information"
In the Pricing Settings section, click on the “Sender Information” option.
Step 4: Add Organization Name and Email
Fill in the Sender Name (e.g., your brand or company name).
Enter the Sender Email Address (this is the email your students will see when they receive updates or course-related emails).
Make sure the email is valid and preferably a business email (like
support@yourbrand.com).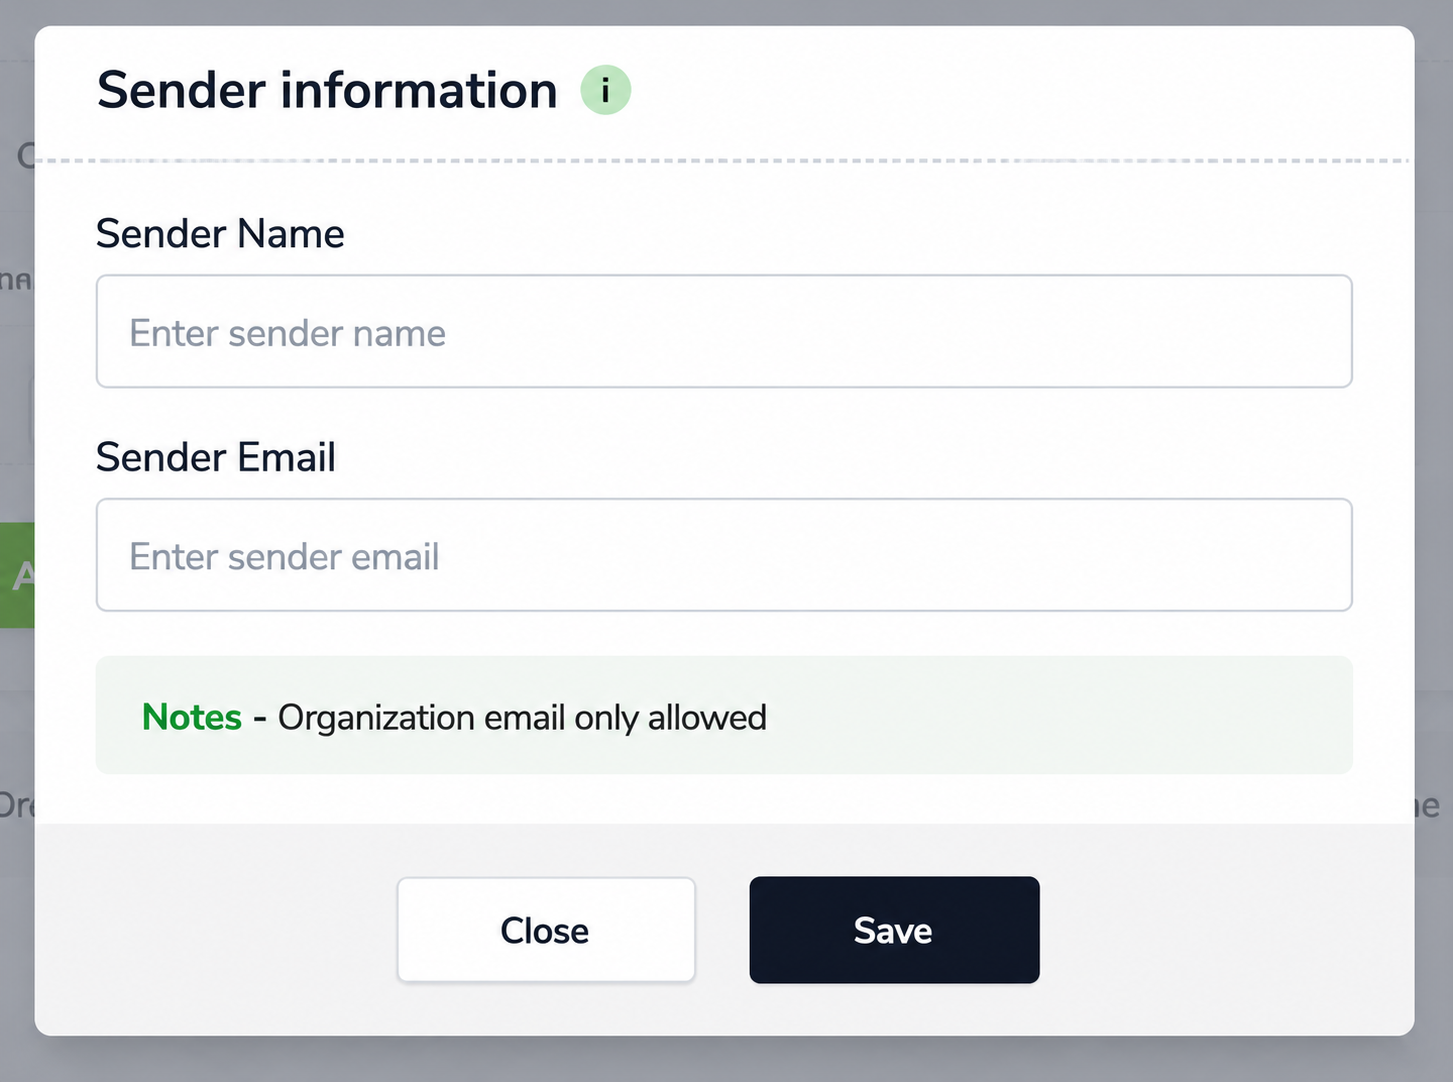
Step 5: Save the Information
After entering the details, click on Save to apply the changes.
That's how to set up the Sender Information!
What Students See
After setup, course-related emails (purchase confirmation, login details, upgrade notices) will show:
- From: [Your Sender Name]
<your-sender-email@yourbrand.com>
instead of a generic or default FlexiFunnels sender.
Common Issues & Fixes
| Problem | Likely Cause | Fix |
|---|---|---|
| Emails go to spam after changing sender | Sending domain isn't verified/authenticated (SPF/DKIM) | Check with support whether your domain needs verification for deliverability |
| Sender name doesn't update in emails | Changes weren't saved, or cached email template is being used | Re-check Save was clicked; test with a new email trigger |
| Students reply but you never receive it | Sender email is a no-reply or unmonitored address | Use an email address you actively check, or set up a clear "no-reply" disclaimer in the email body |
| Emails fail to send entirely | Invalid or mistyped email format | Re-enter the sender email and confirm it's a valid, working address |
Was this article helpful?
That’s Great!
Thank you for your feedback
Sorry! We couldn't be helpful
Thank you for your feedback
Feedback sent
We appreciate your effort and will try to fix the article