Overview
After creating a Digital Asset, you can connect it to either a Lead Form or a Product in FlexiFunnels. Once connected, the selected Digital Asset is automatically delivered to users after they submit a lead form or successfully purchase a product. This guide explains both connection methods.
Before You Begin
- An active FlexiFunnels account.
- At least one Digital Asset created in your account.
- A Lead Form or Product already configured inside your project.
- Access to the FlexiFunnels Page Editor or Product Settings.
Part 1: Connect a Digital Asset to a Lead Form
Connecting a Digital Asset to a Lead Form automatically sends the selected file to users immediately after they submit the form.
Step 1: Open the Page Editor
Open your project and navigate to the page containing the Lead Generation Form.
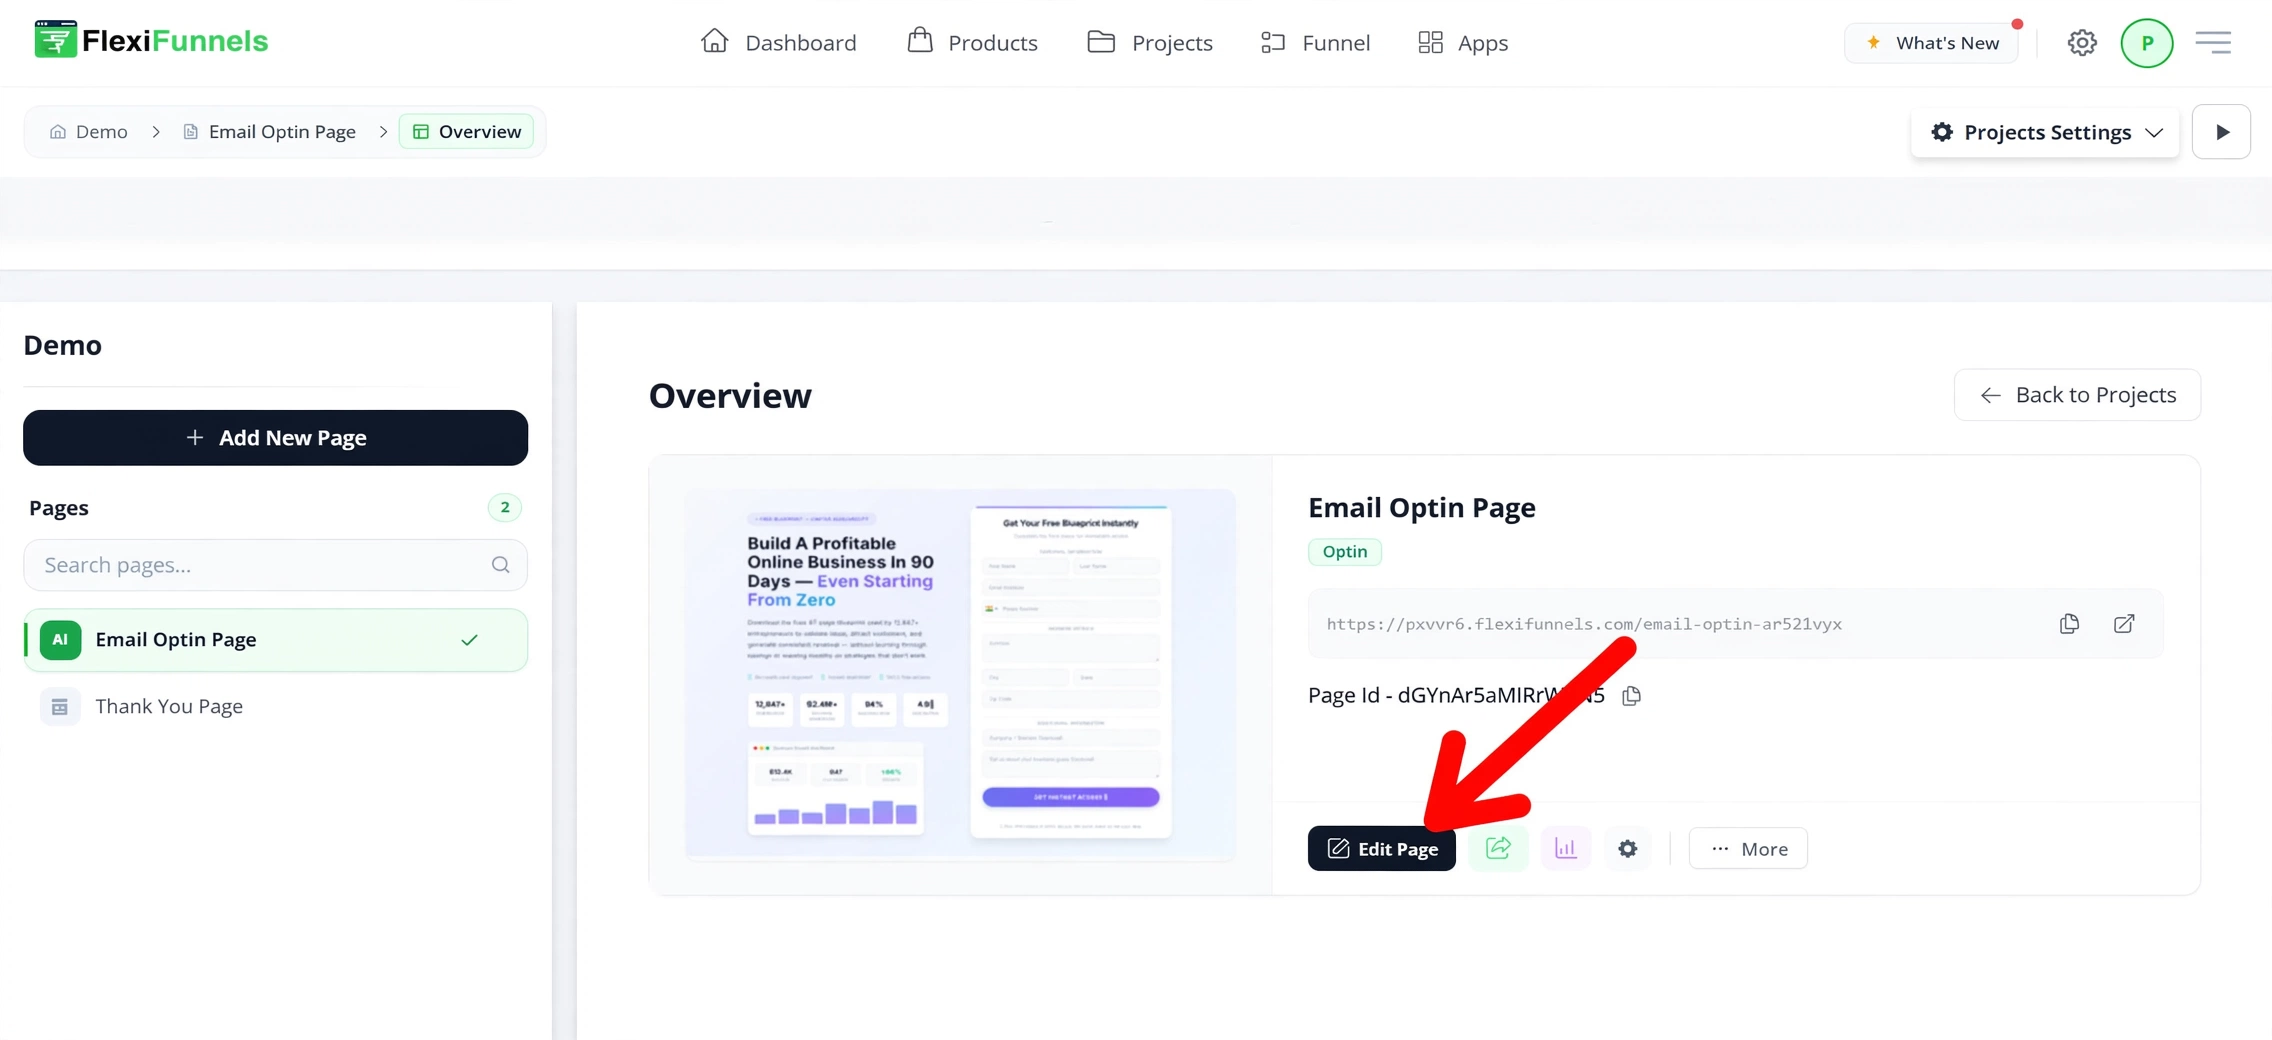
Step 2: Open Advanced Settings
Select the Lead Form and open its Advanced Settings.
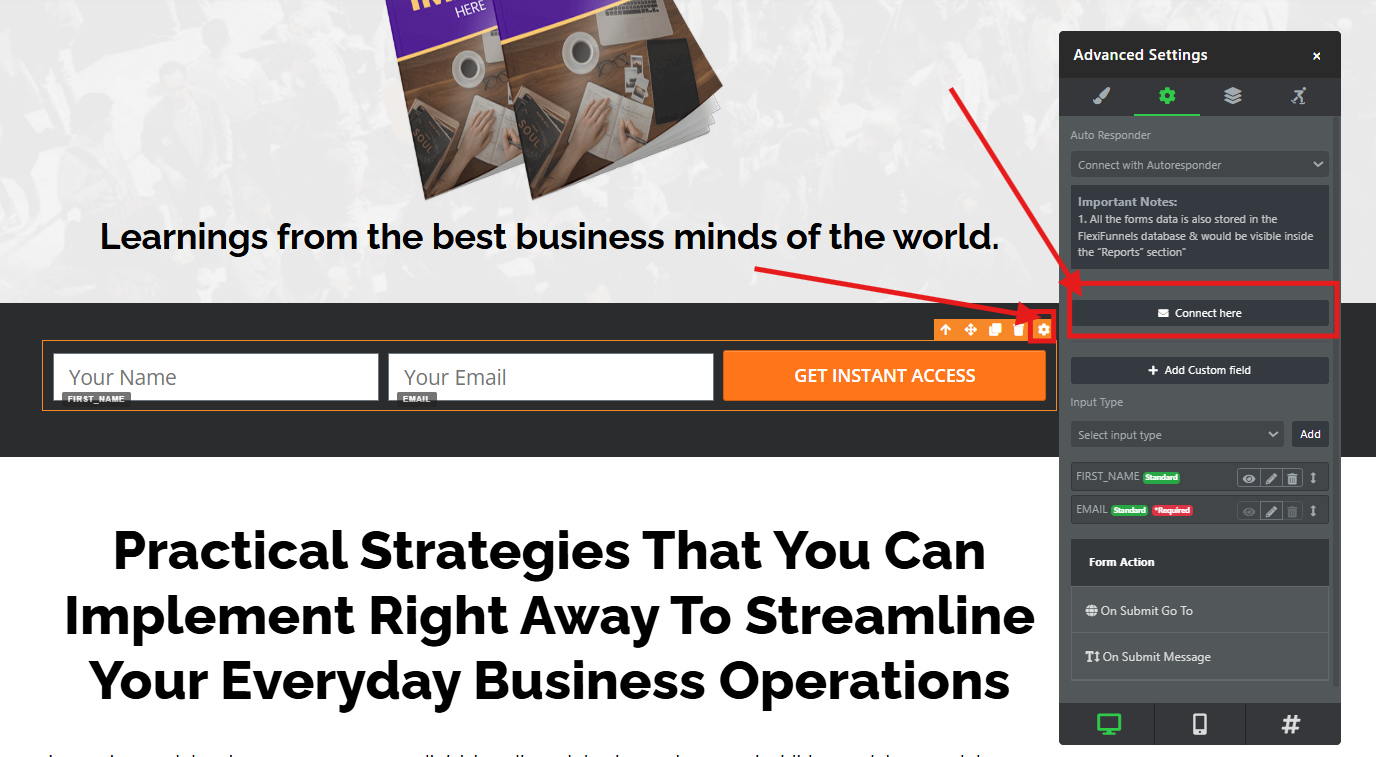
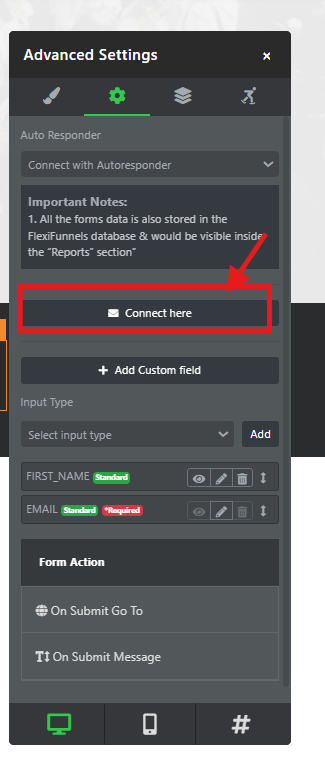
Step 3: Open the Integration Options
Inside the Advanced Settings, click Connect Here.
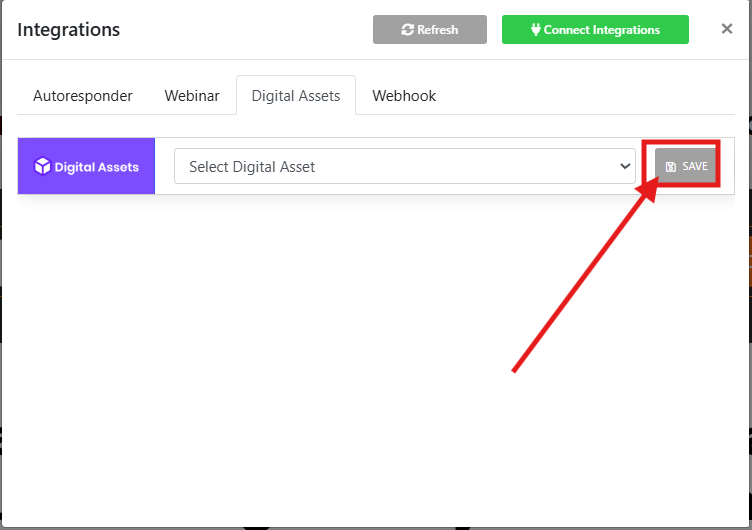
Step 4: Select the Digital Asset
Choose Digital Asset from the available integrations.
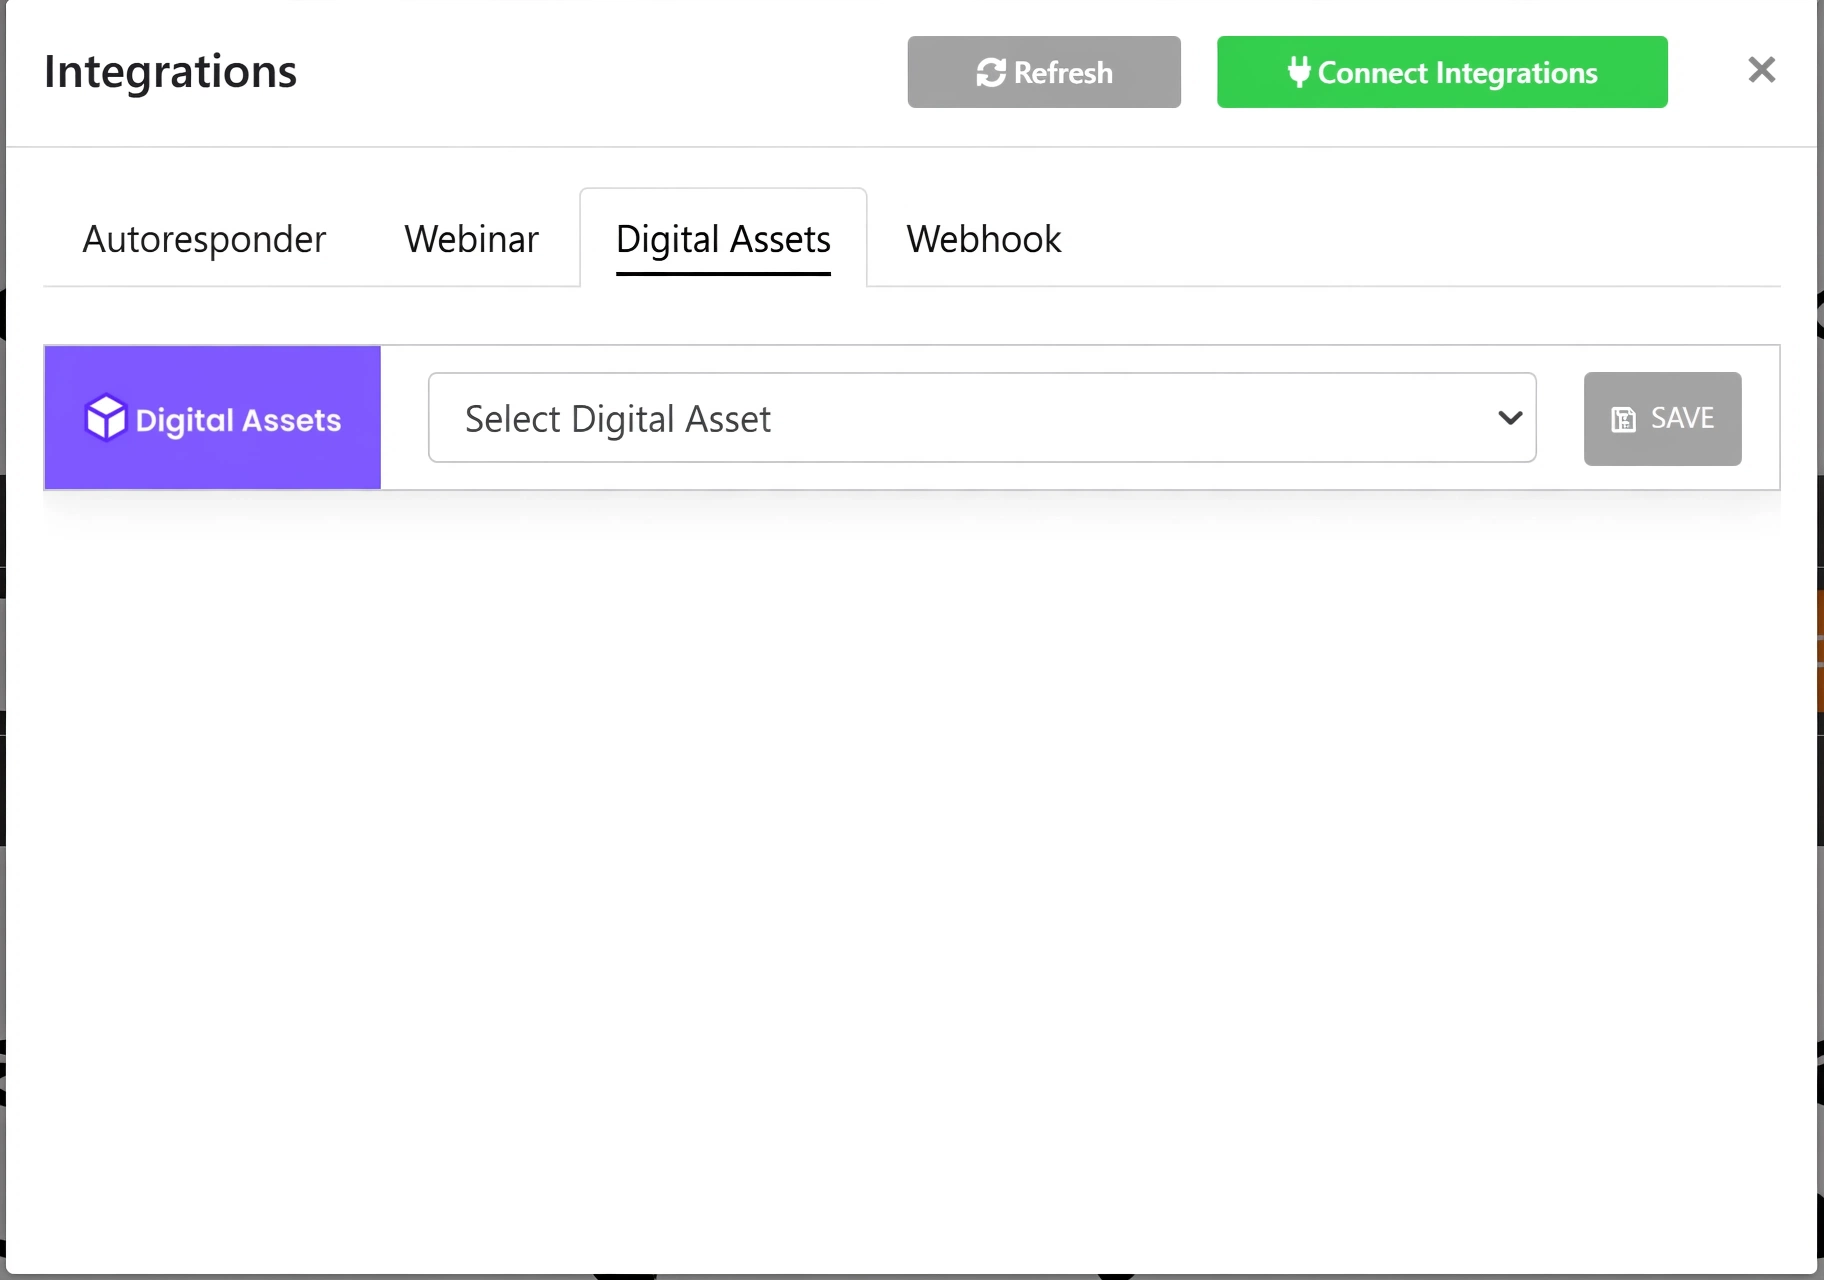
Step 5: Save the Configuration
Select the Digital Asset you want to deliver and click Save.
Part 2: Connect a Digital Asset to a Product
You can also deliver a Digital Asset automatically after a customer purchases one of your products.
Step 1: Open Your Product
Navigate to the Products section from your dashboard.
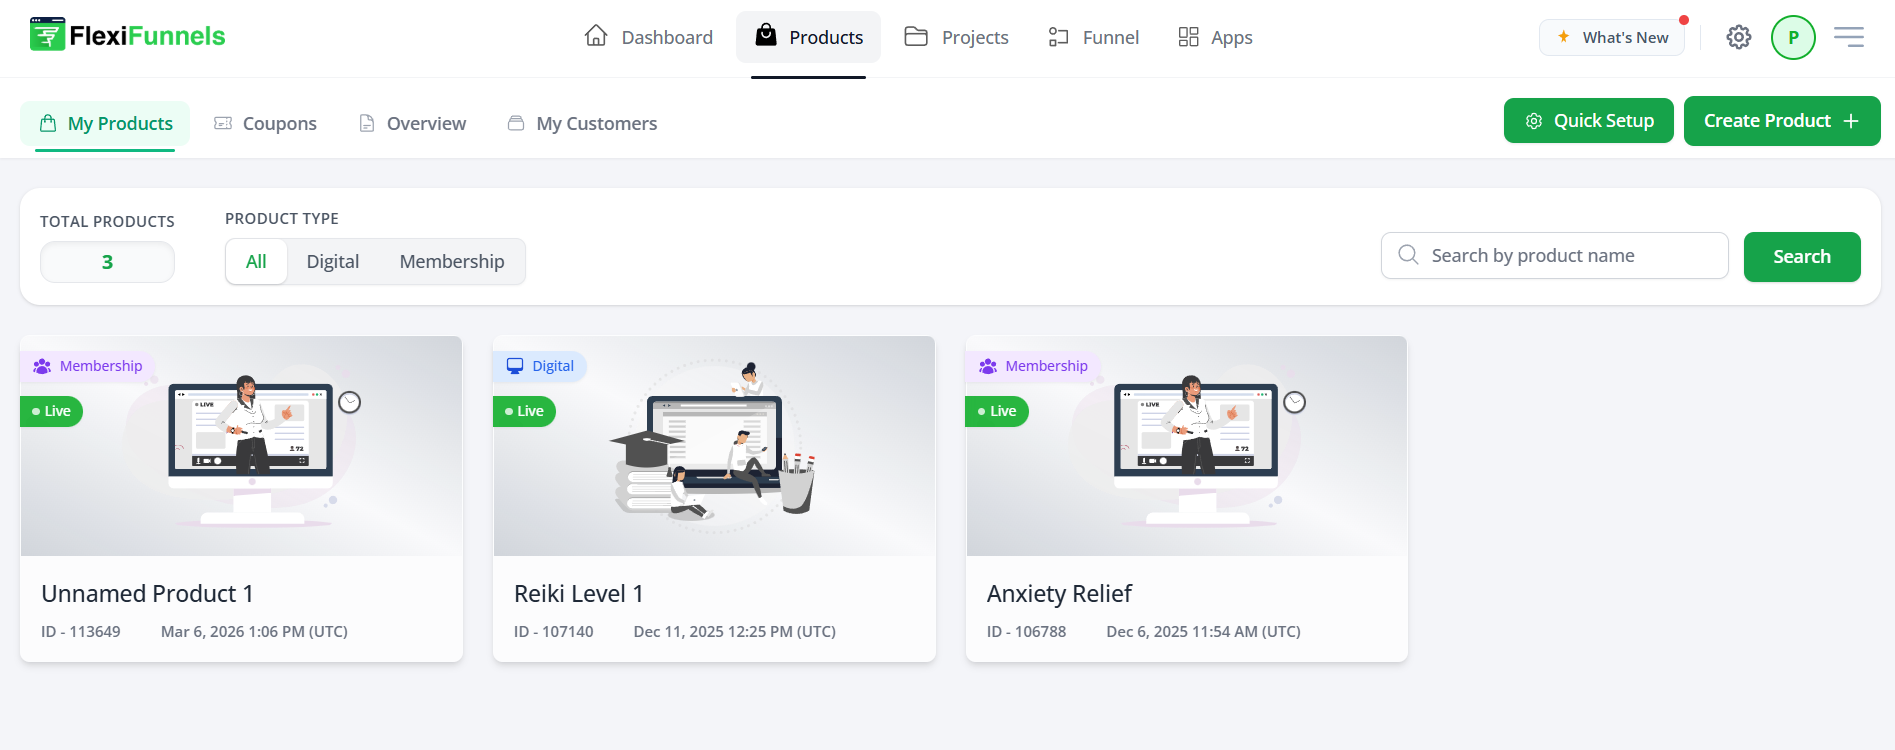
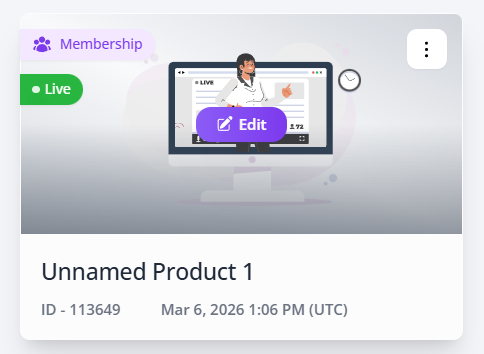
Open the product you want to edit.
Step 2: Configure After Purchase Settings
Navigate to the After Purchase section inside the product settings.
Choose the Digital Asset you want customers to receive after completing their purchase.
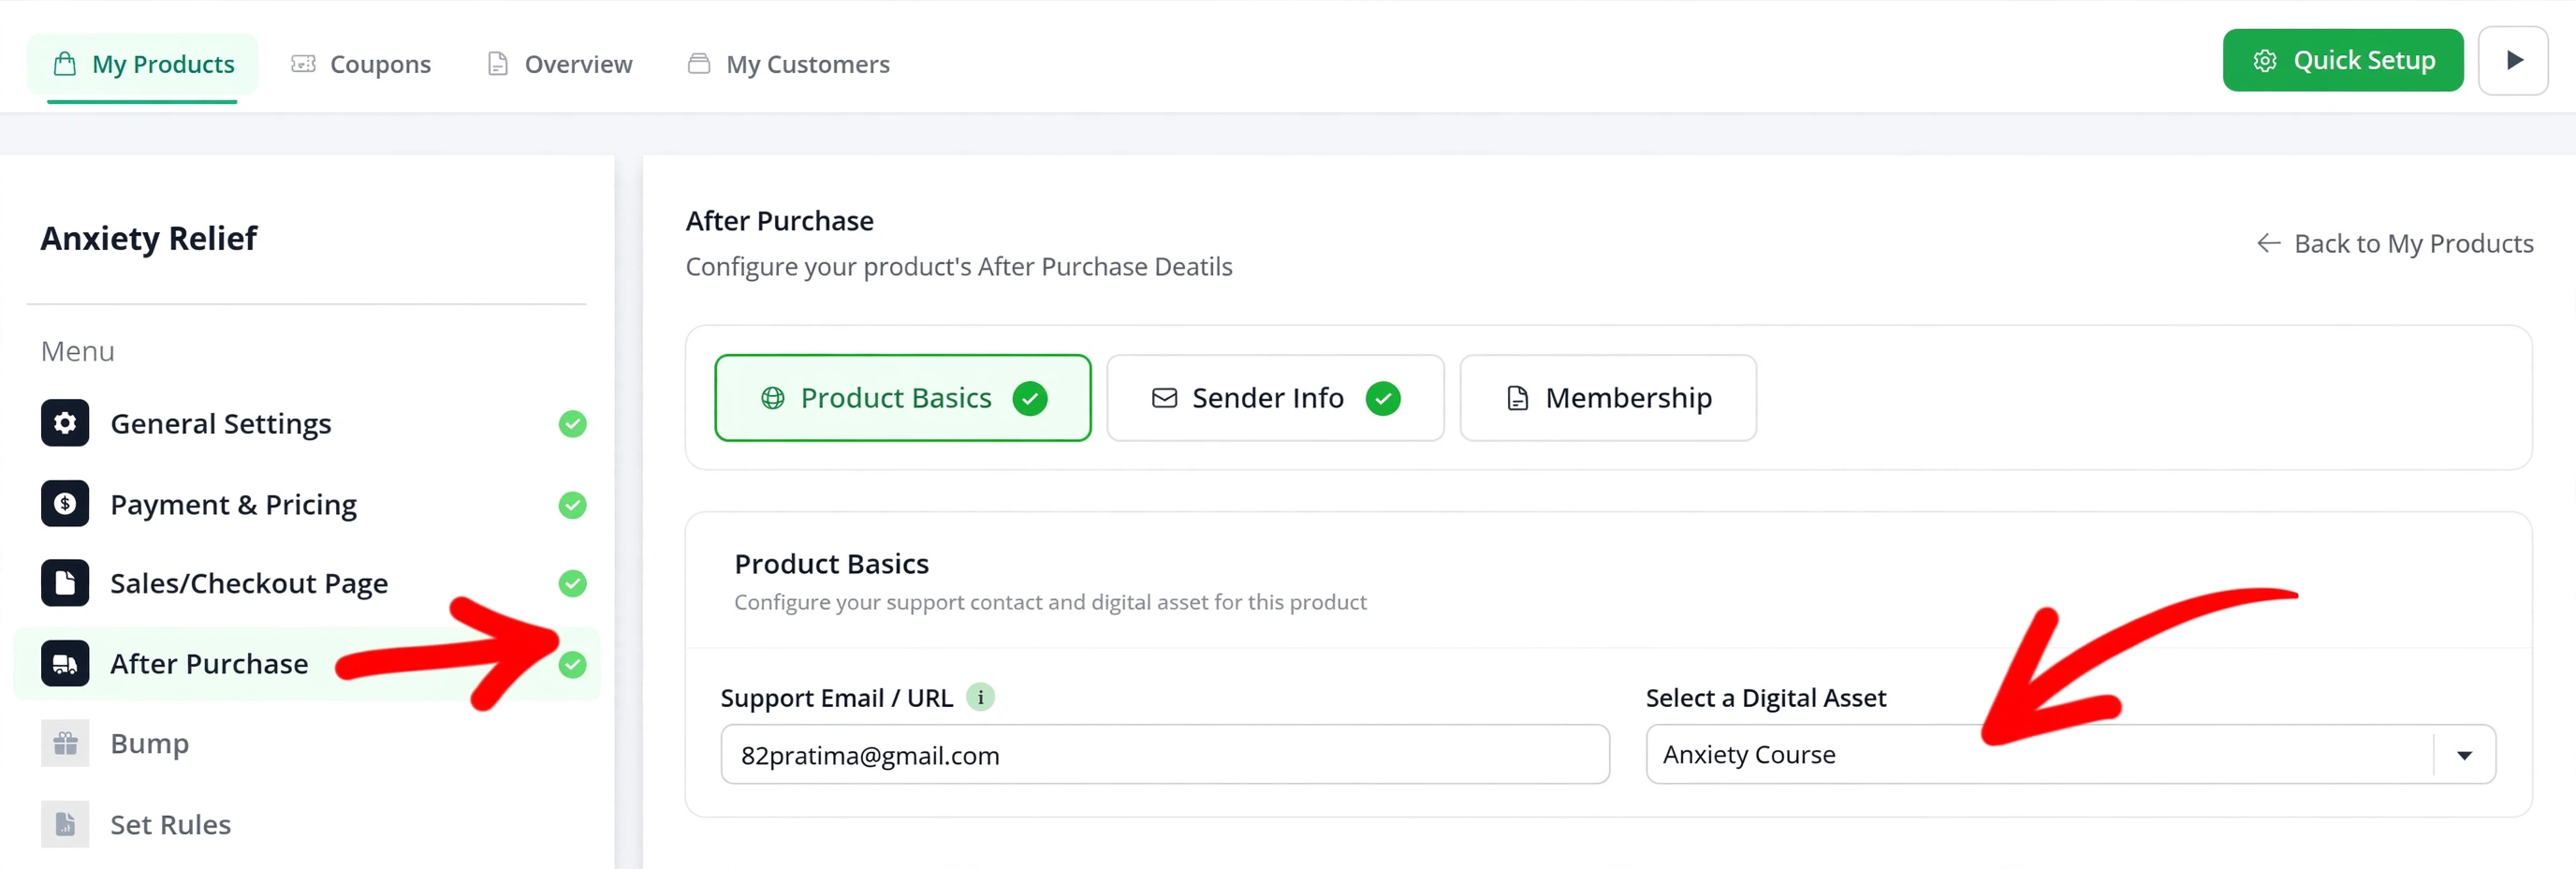
Click Save to apply your changes.
Verify the Configuration
Before publishing your funnel, verify the following:
- The correct Digital Asset has been selected.
- The Lead Form or Product has been saved successfully.
- The Digital Asset is active.
- A test submission or test purchase successfully triggers the email delivery.
Common Scenarios
Digital Asset Email is Not Sent
- Verify that a Digital Asset has been connected.
- Ensure the Lead Form or Product changes have been saved.
- Confirm the sender email configured in the Digital Asset is valid.
Incorrect File is Delivered
- Open the Digital Asset settings.
- Verify that the correct asset has been selected.
- Update the configuration and save again.
Product Purchasers Don't Receive the Asset
- Verify the Digital Asset is selected under the After Purchase section.
- Run a test purchase to confirm delivery.
Best Practices
- Always test your Lead Form before publishing.
- Run a test purchase after connecting a Product.
- Use descriptive Digital Asset names to simplify management.
- Review your email content periodically to ensure download instructions remain accurate.
Before Contacting Support
- Verify the Digital Asset exists and is active.
- Confirm it has been connected to the correct Lead Form or Product.
- Test the workflow using your own email address.
- Capture screenshots of the configuration and any error messages.
- Share the Funnel URL or Product name when contacting Support.
Expected Outcome
After completing the setup, the selected Digital Asset will be delivered automatically whenever a visitor submits the connected Lead Form or successfully purchases the associated product, providing a seamless digital delivery experience.
Related Articles
- Create a Digital Asset
- Create a Lead Form
- Create a Product
- Email Automations
- Product Delivery Workflows
Was this article helpful?
That’s Great!
Thank you for your feedback
Sorry! We couldn't be helpful
Thank you for your feedback
Feedback sent
We appreciate your effort and will try to fix the article