Overview
Email domain verification authenticates the domain used to send emails through FlexiFunnels. It helps mailbox providers confirm that FlexiFunnels is authorized to send on your behalf, improving deliverability and reducing the likelihood that legitimate emails are filtered as spam. Complete this process before using a custom domain for transactional or automated emails.
Before You Begin
- Access to your FlexiFunnels account with permission to manage settings.
- Access to your domain registrar or DNS hosting provider.
- The primary domain you want to use as an email-sending domain.
- Permission to add MX and TXT records to the domain’s DNS zone.
Video Tutorial
Step-by-Step Instructions
Step 1: Open Settings
Open the FlexiFunnels Settings area to access account-level email configuration options.
- Select the gear icon near your profile image in the upper-right corner of the dashboard.
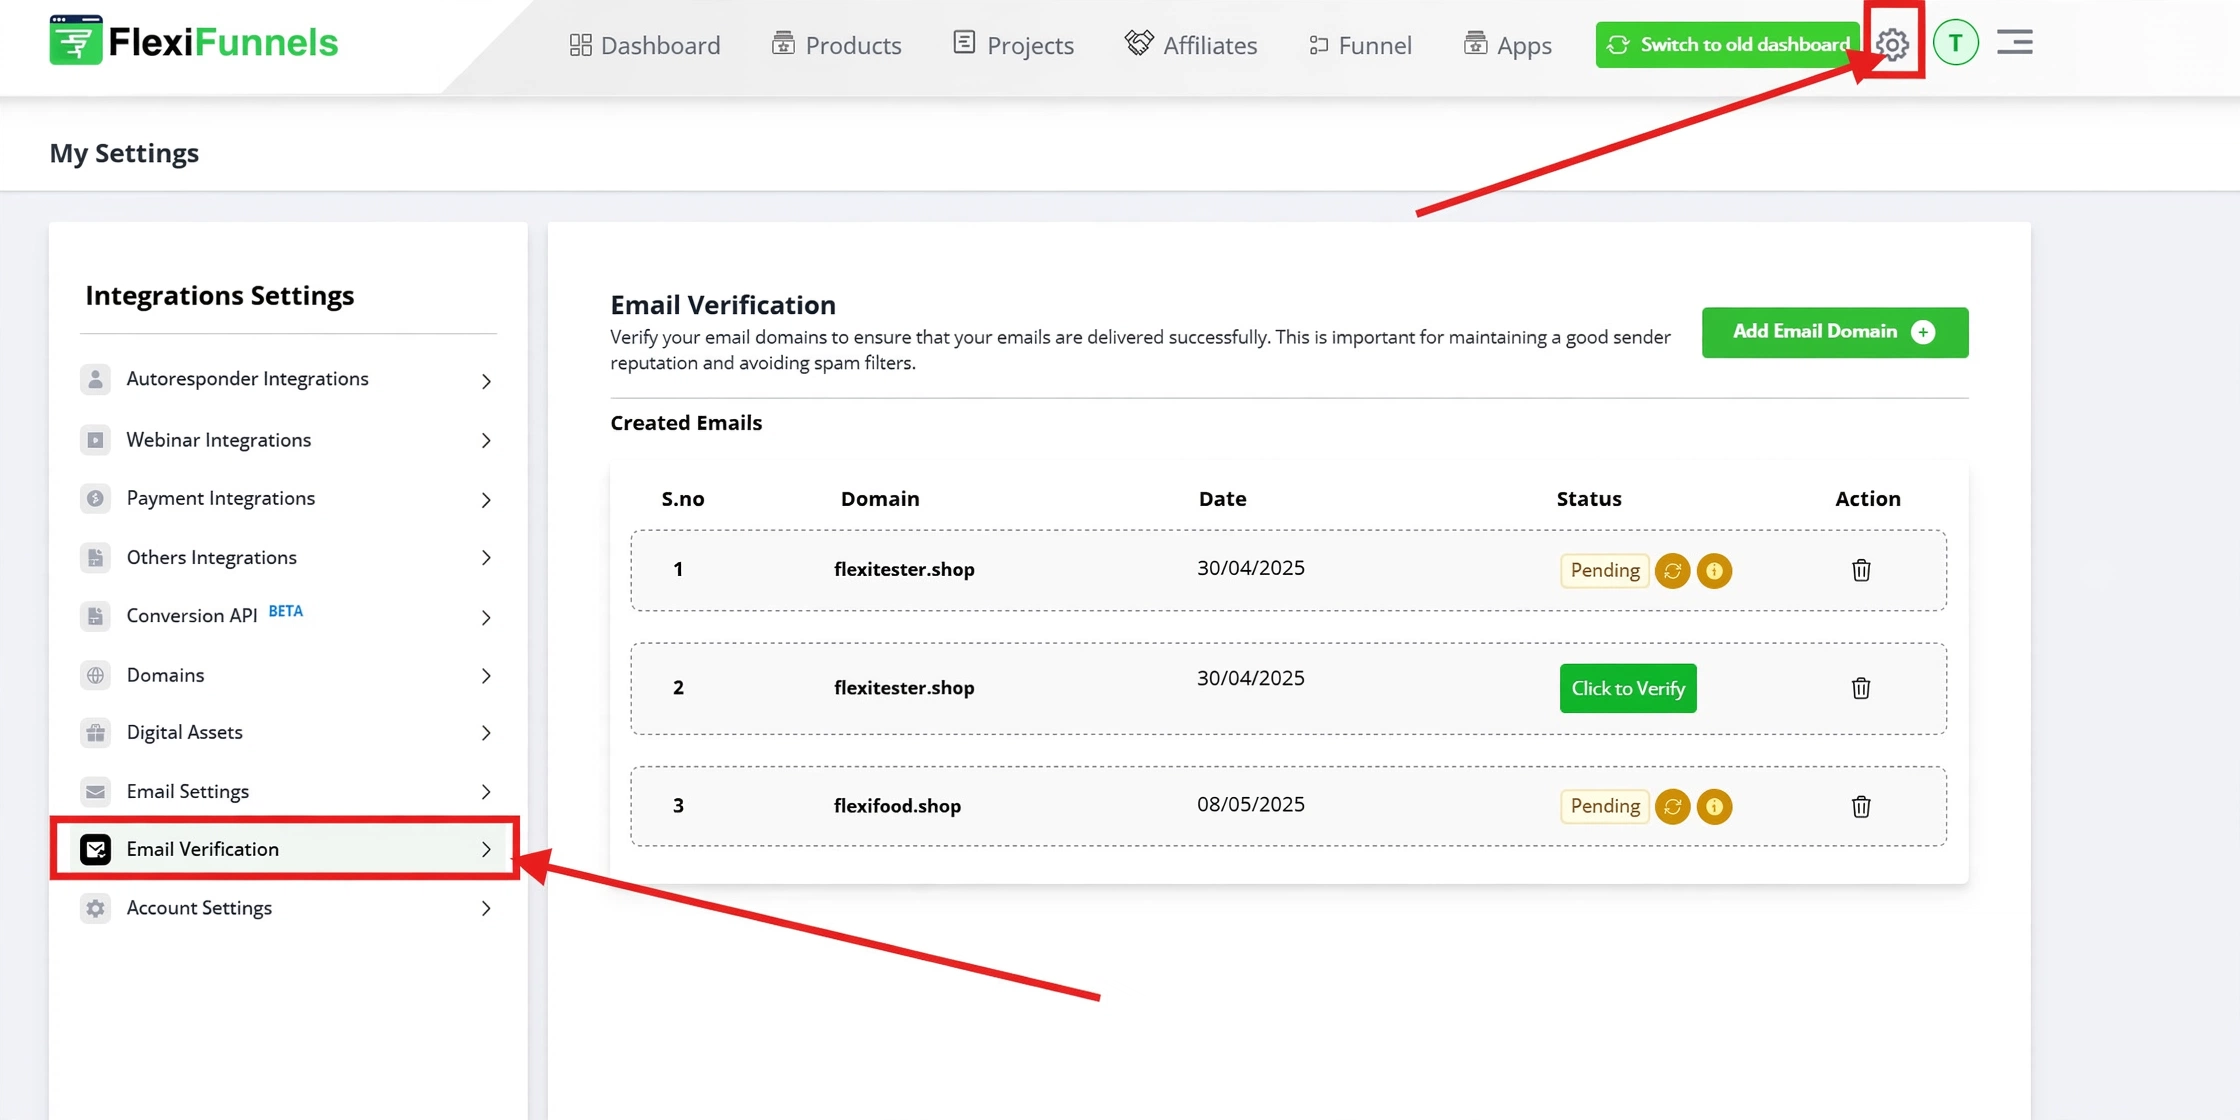
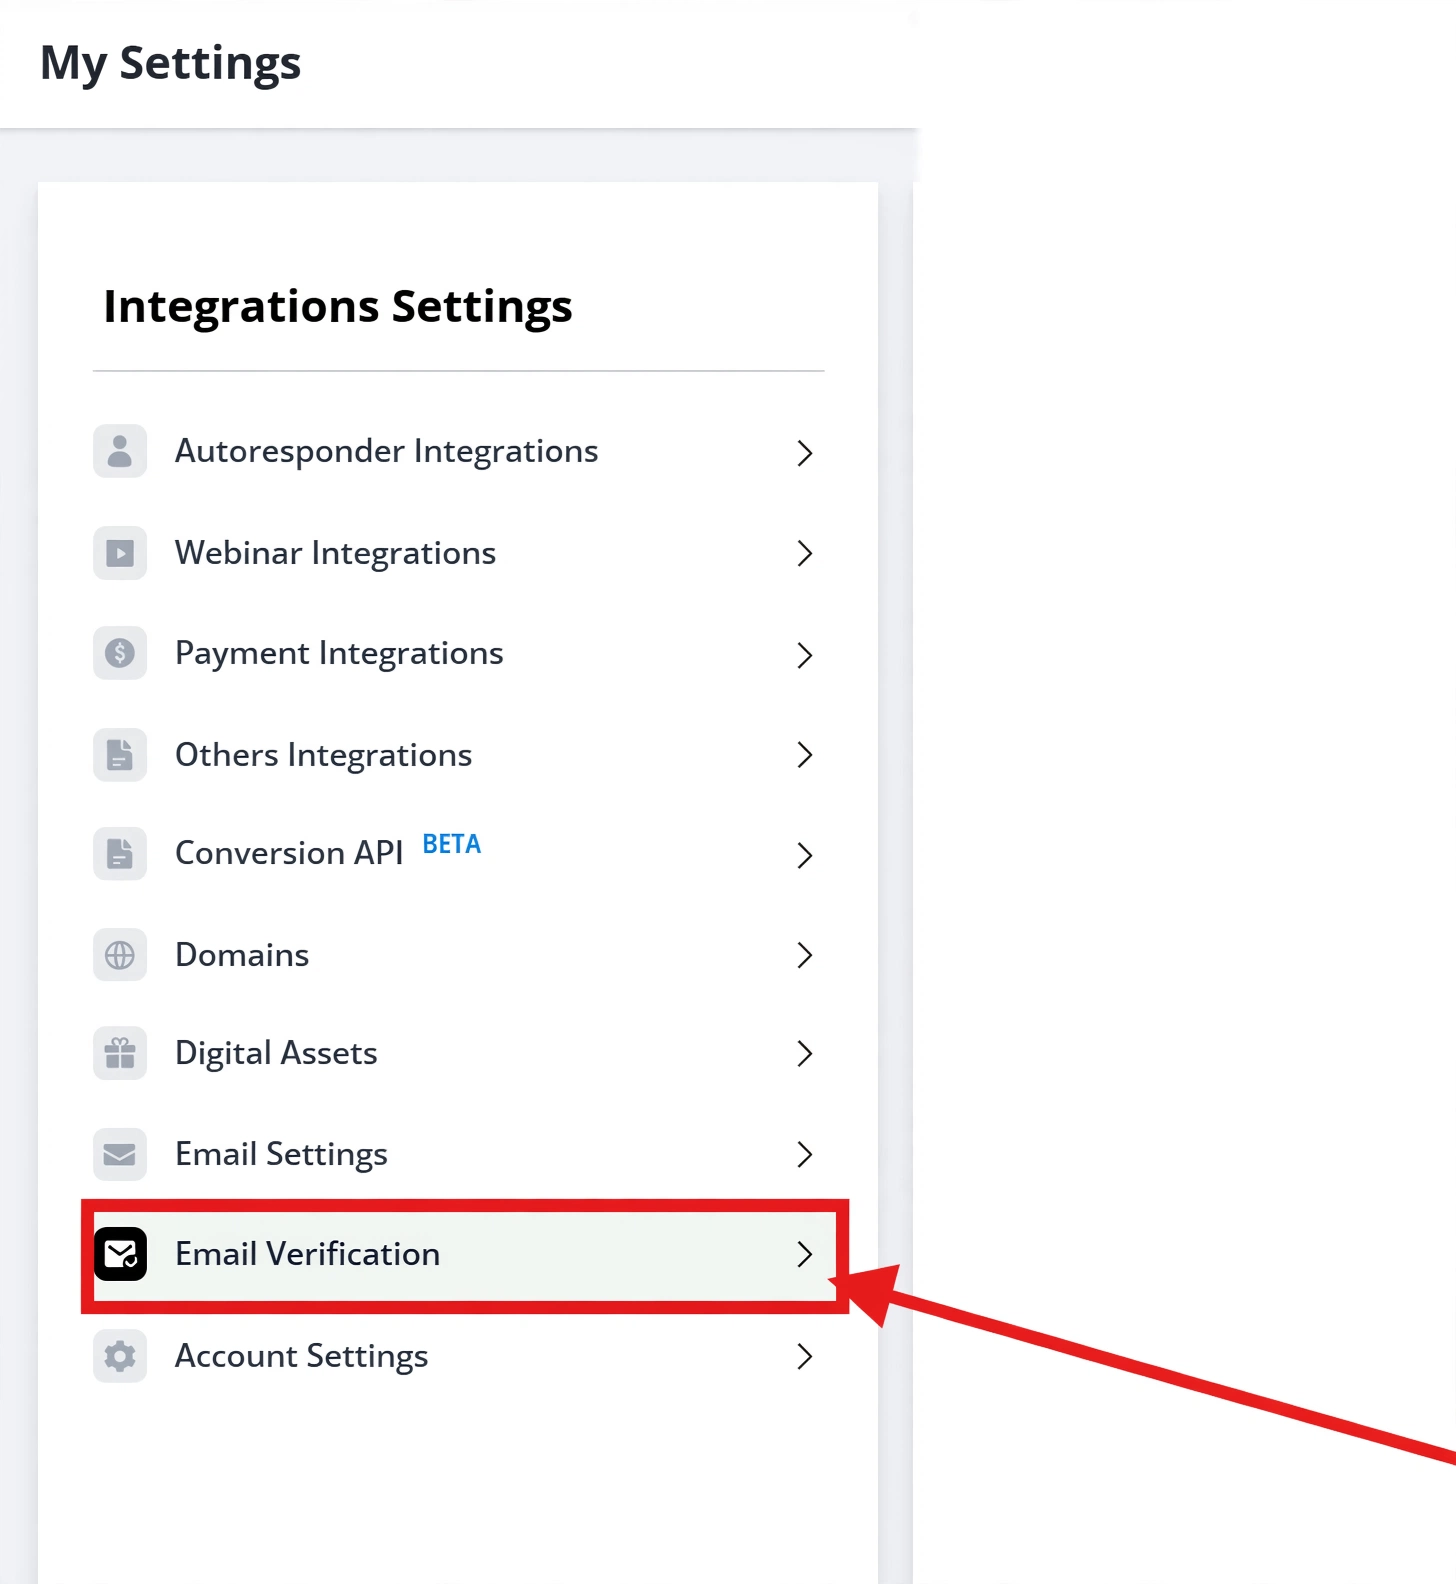
Step 2: Open Email Verification
In Settings, select Email Verification. This area displays the domains connected to your account and the DNS records required for verification.
Step 3: Add an Email Domain
Select Add Email Domain, then enter the domain you want to authenticate. FlexiFunnels generates the DNS records that prove ownership and authorize email sending.

Step 4: Copy the DNS Records
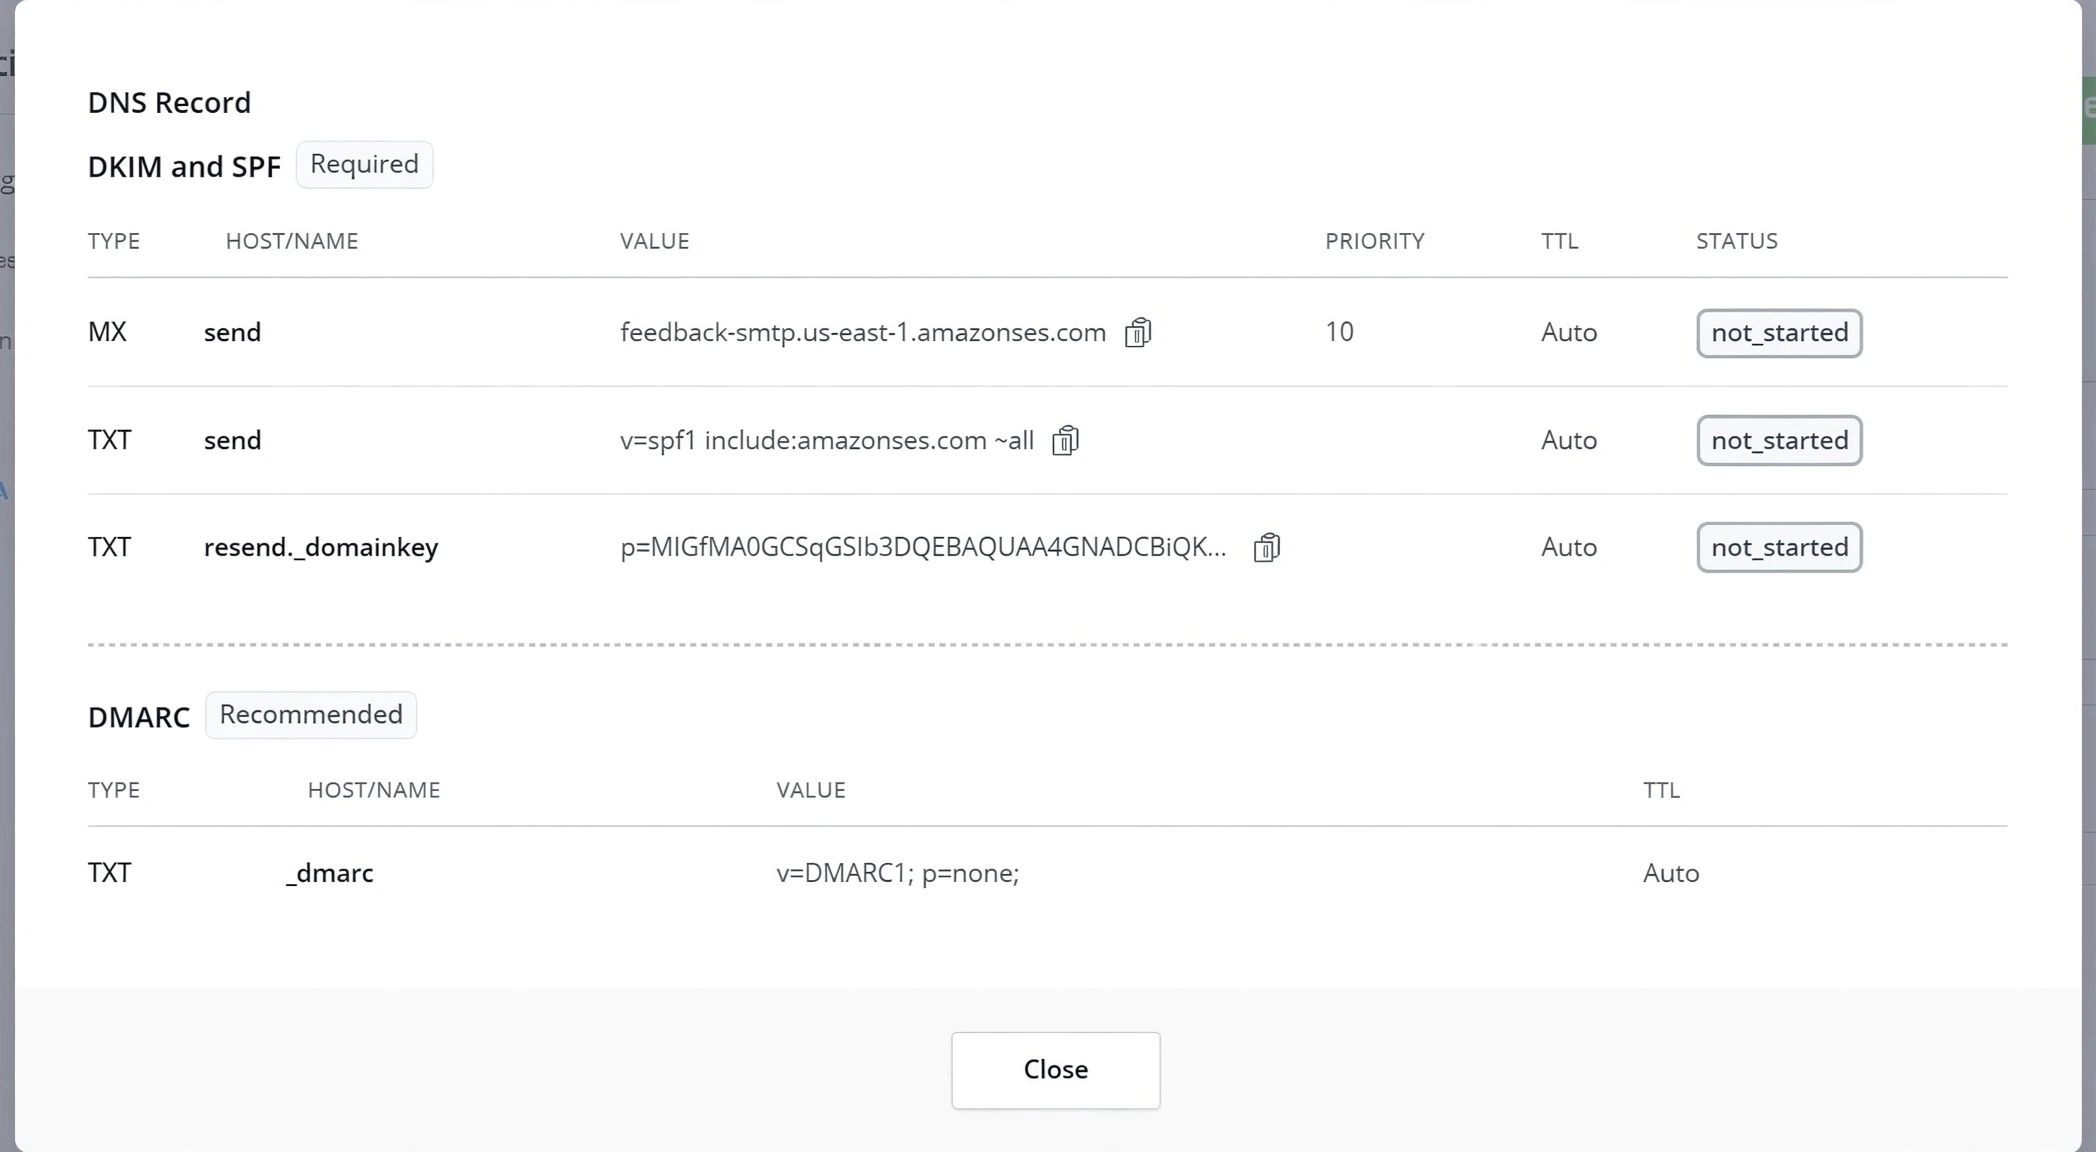
After adding the domain, FlexiFunnels displays the DNS records required for verification. Copy each record exactly as shown and add it to the DNS zone managed by your domain provider.

Step 5: Add the Required Records to Your DNS Provider
Sign in to your domain provider and open the DNS management page for the selected domain. Add the records generated in FlexiFunnels. The values below are examples; always use the complete values shown in your own Email Verification screen.
DKIM and SPF records — required
| Type | Host/Name | Value | Priority | TTL | Status |
|---|---|---|---|---|---|
| MX | send | feedback-smtp.us-east-1.amazonses.com | 10 | Auto | not_started |
| TXT | send | v=spf1 include:amazonses.com ~all | - | Auto | not_started |
| TXT | resend._domainkey | p=MIGfMA0GC... (full key as shown in your records) | - | Auto | not_started |
DMARC record — recommended
| Type | Host/Name | Value | TTL |
|---|---|---|---|
| TXT | _dmarc | v=DMARC1; p=none; | Auto |
Important: Do not replace existing SPF or DMARC records without reviewing them first. If a record already exists, combine or update it according to your DNS provider’s guidance to avoid disrupting other email services.
Step 6: Verify Your Domain
After saving all required DNS records, return to the Email Verification page in FlexiFunnels and select Verify. FlexiFunnels checks the public DNS records and updates the status for each record.
A record status changes from not_started to verified after DNS propagation is complete. Propagation can take from a few minutes to several hours, depending on your DNS provider and the record TTL.

Verify the Configuration
- Return to FlexiFunnels Settings → Email Verification.
- Confirm that every required record displays a verified status.
- Send a test email from the verified domain and confirm that it arrives successfully.
- Review the sender address and domain in the received message to confirm the expected identity is used.
Common Scenarios
Membership Course Access
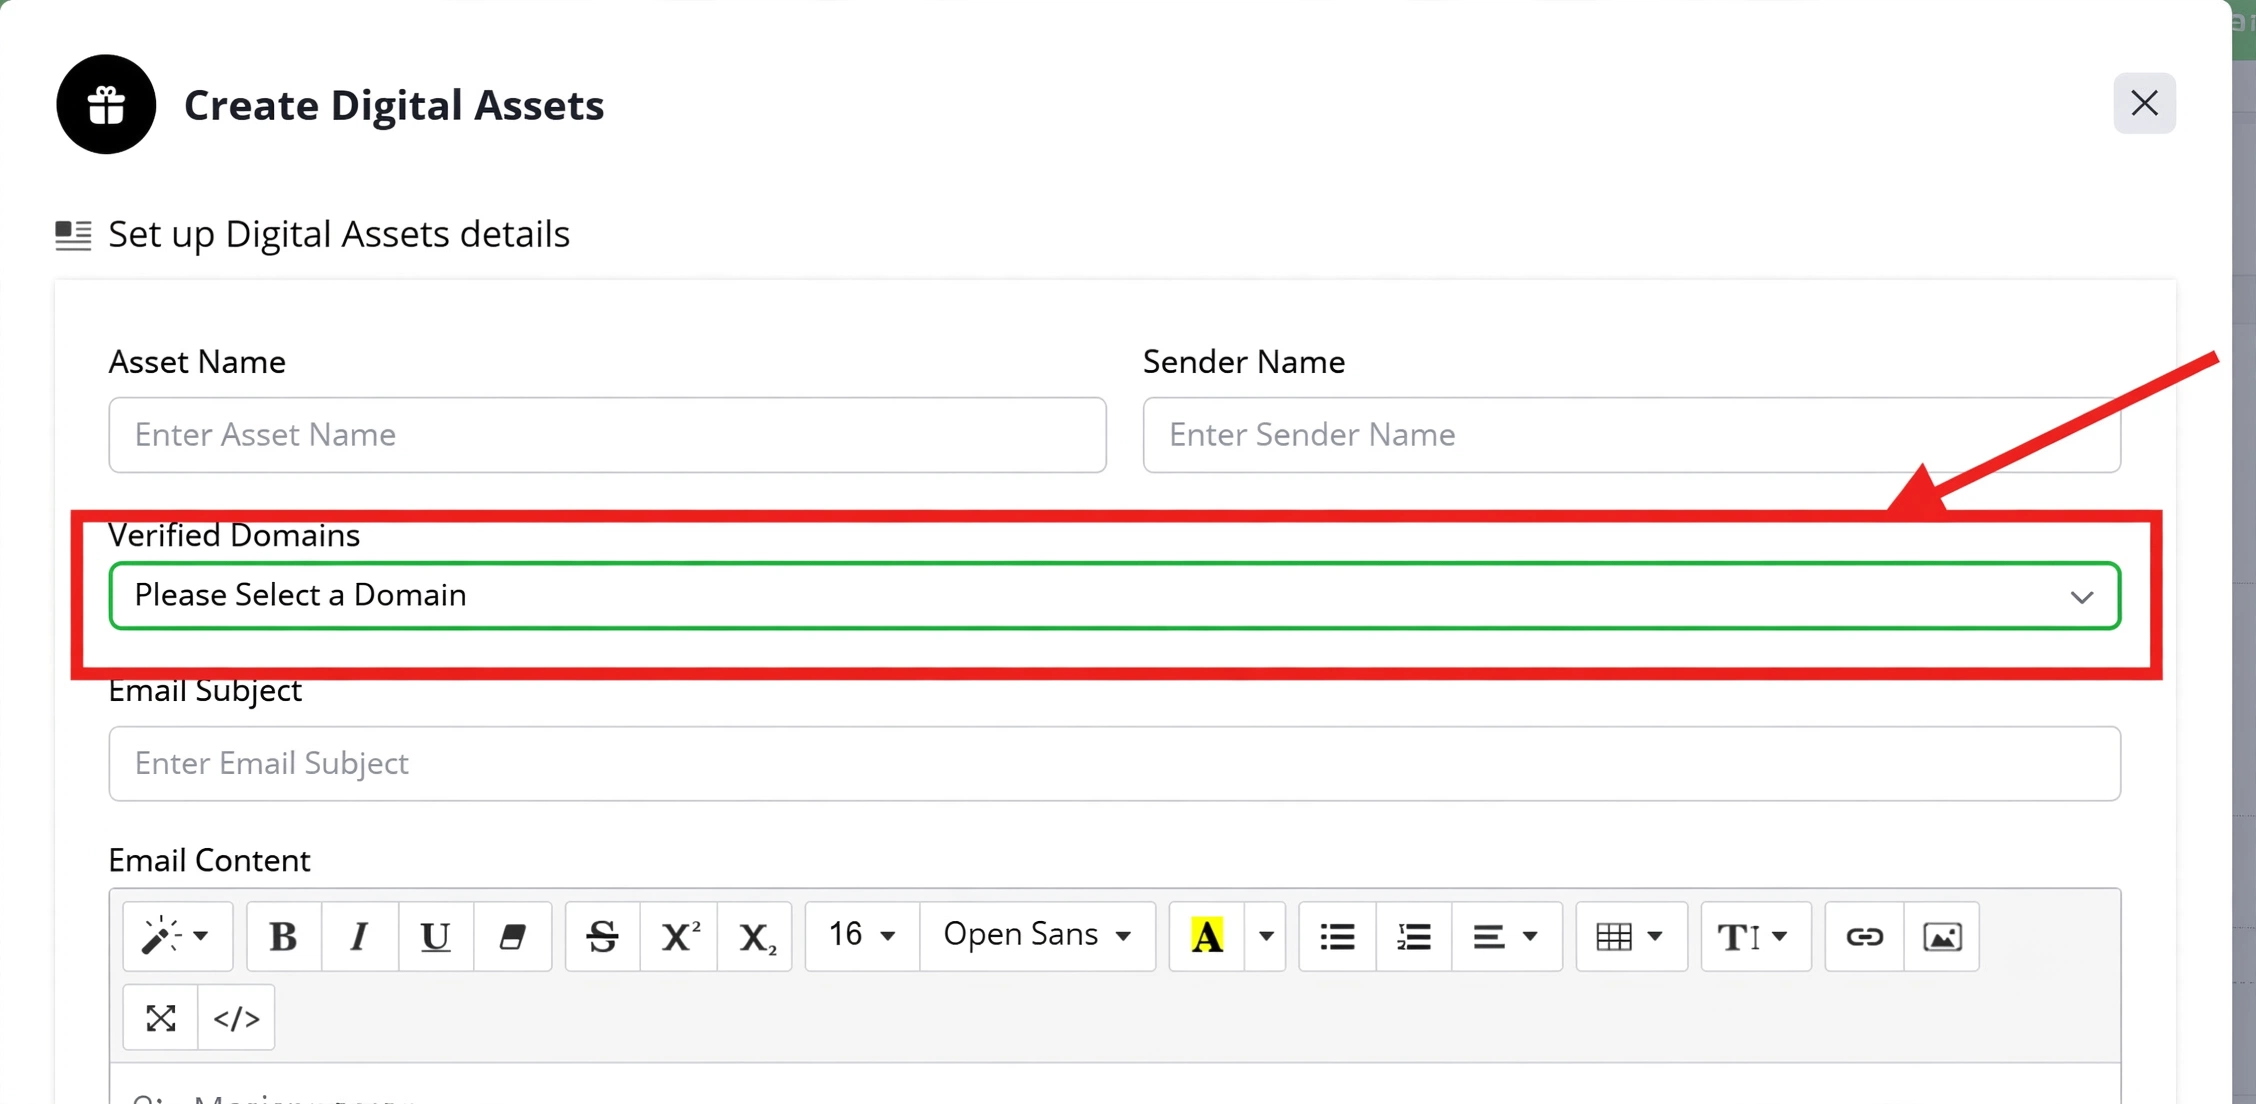
Use a verified sending domain to deliver membership login credentials and access links after a customer purchases a course. Authentication helps these important transactional messages reach the customer’s inbox.
Digital Asset Delivery
For downloadable ebooks, templates, or files, verified email improves the reliability of automated delivery messages triggered by form submissions or purchases.
Cart Abandonment Recovery
A verified domain supports reliable delivery of automated follow-up messages when a visitor starts checkout but does not complete the purchase.
Course Completion Follow-ups and Upsells
Use the verified domain for course-completion messages, certificates, and relevant follow-up offers. A consistent sender identity helps customers recognize the message source.
Best Practices
- Use a domain that your business owns and controls.
- Copy DNS host names and values exactly as displayed in FlexiFunnels.
- Keep the DNS TTL set to Auto unless your provider requires a specific value.
- Do not remove existing mail records without confirming their purpose.
- Add the recommended DMARC record to strengthen domain authentication.
- Use a recognizable sender name and address for automated emails.
- Test transactional emails after verification and after any DNS change.
Before Contacting Support
- ✓ Confirm that the domain name entered in FlexiFunnels is correct.
- ✓ Confirm that every MX and TXT record was added to the correct DNS zone.
- ✓ Check that the full DKIM value was copied without omissions.
- ✓ Check for conflicting SPF, DKIM, or DMARC records.
- ✓ Wait for DNS propagation, then select Verify again.
- ✓ Capture screenshots of the DNS records and their verification status.
Expected Outcome
Once the required DNS records are verified, your domain is authenticated for email sending through FlexiFunnels. This supports better inbox placement, a consistent sender identity, and dependable delivery of automated emails.
Related Articles
Was this article helpful?
That’s Great!
Thank you for your feedback
Sorry! We couldn't be helpful
Thank you for your feedback
Feedback sent
We appreciate your effort and will try to fix the article