Email notifications are like a doorbell ?. When something happens, members get an email. You choose which emails go out and how they look.
Little words, big meanings
| Word | What it means |
|---|---|
| Master switch | one switch for all emails |
| SMTP | the mail service that sends your emails |
| Merge variable | a blank filled in with member details |
| Sender | the name and address an email comes from |
Before You Start
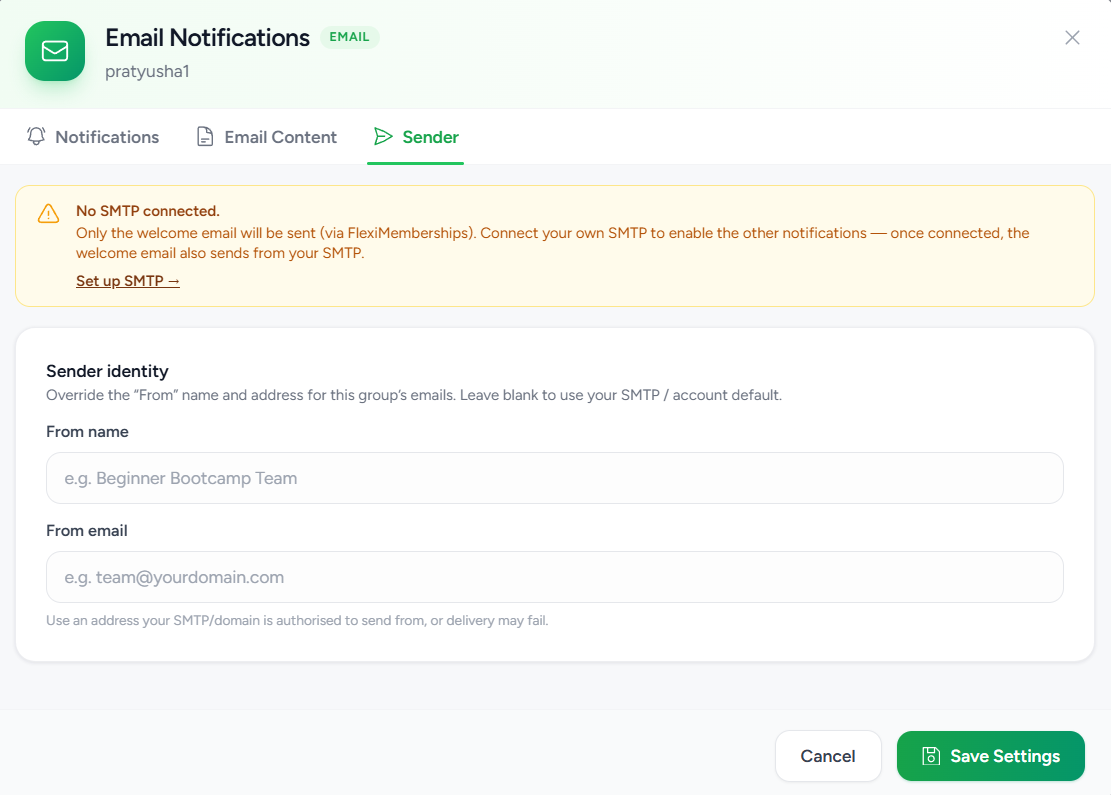
SMTP neededNo SMTP connected? Only the Welcome Email is sent, using the default Flexi Membership email service. All other emails stay off until you connect SMTP. Once SMTP is set up, every email, including the Welcome Email, goes through your SMTP.
Set Up Email Notifications in 7 Steps
1Open Email Notifications
- Open your membership project
- Click the Communities tab
- Find your community
- Click the three-dot (⋮) menu on its card
- Click Content & Tools
- Click Email Notifications
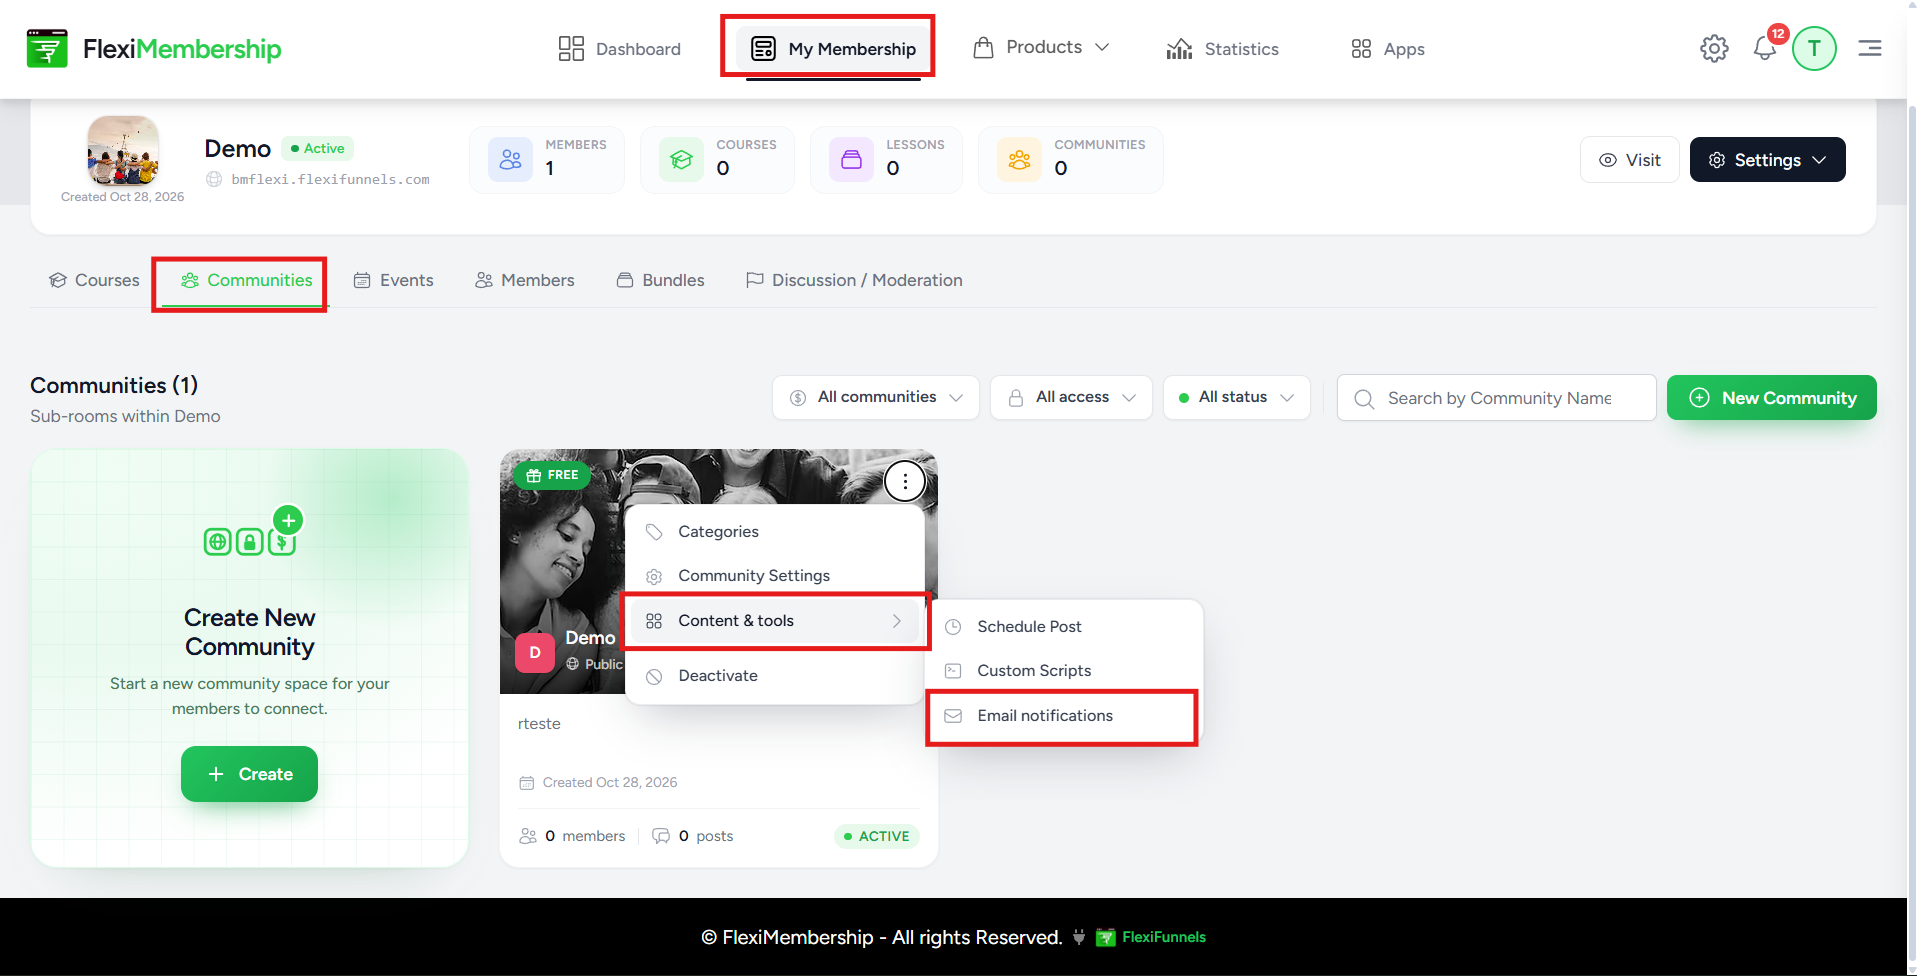
You will see: a window with 3 tabs: Notifications, Email Content and Sender.
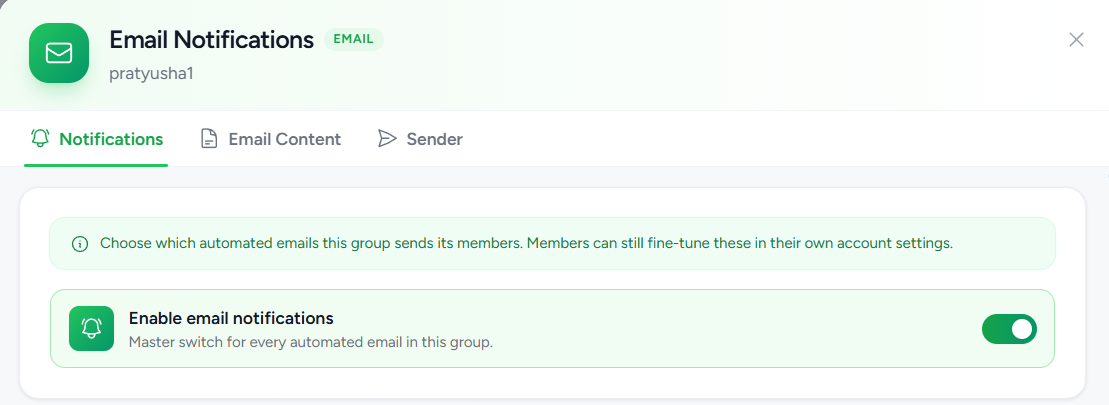
2Turn on the master switch
- On the Notifications tab, find Enable Email Notifications at the top
- On: emails go out based on the settings below
- Off: all community emails stop, whatever the settings below say
3Choose which emails to send
- Switch each email on or off
- Each row below shows when it is sent
| Sent when | Why it helps | |
|---|---|---|
| Welcome Email | A new member joins | Greets members and tells them what to expect |
| New Post Published | A new post goes up | Brings members back to fresh content |
| Admin Posted | An administrator or moderator posts | Members see official updates at once |
| Comments | Someone comments on a member's post | Keeps the chat going |
| Replies | Someone replies to a member's post or comment | Members do not miss replies |
| Mentions | A member is tagged with @username in a post or comment | Pulls that member into the chat |
| Post Likes | Someone likes a member's post | Shows members their post is liked |
| Comment Likes | Someone likes a comment or reply | Gives friendly feedback |
| Event Reminders | An event is coming up in the community | Members do not miss webinars or live sessions |
| Weekly Summary | The weekly summary is made | Helps quiet members catch up |

Welcome Email

New Post Published

Admin Posted

Comments

Replies

Mentions

Post Likes

Comment Likes

Event Reminders

Weekly Summary
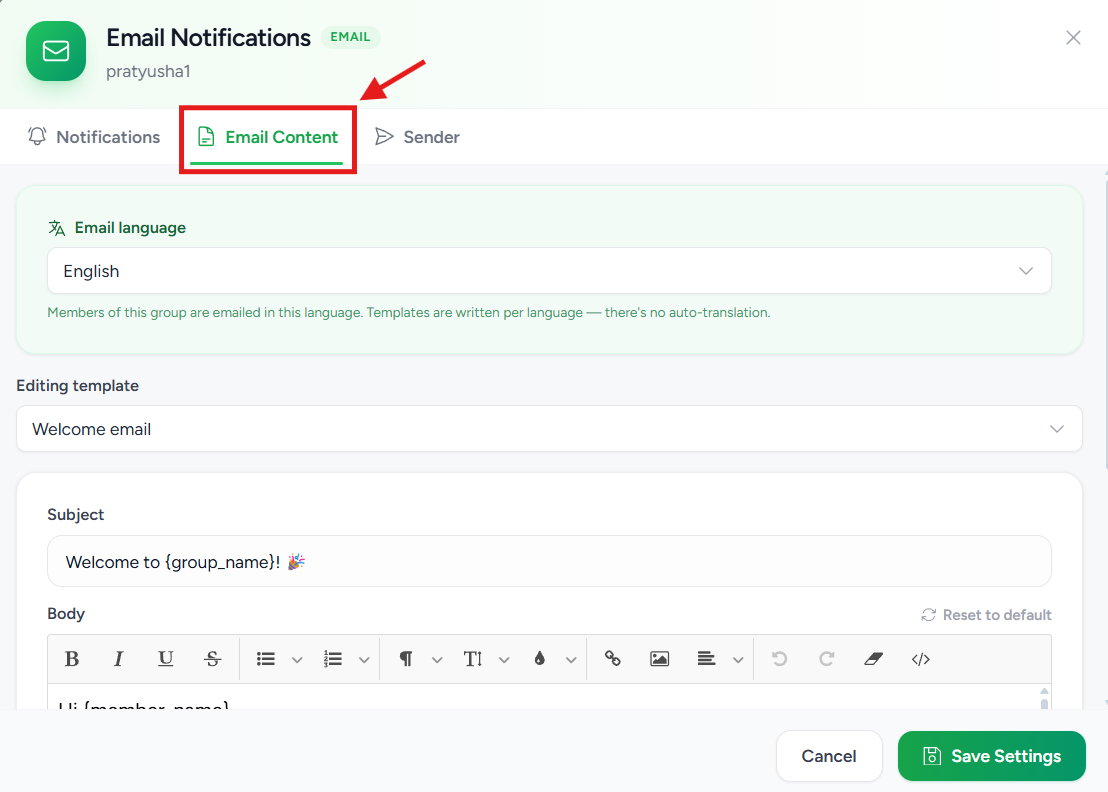
4Edit the email content
- Open the Email Content tab
- Change the subject
- Change the body
- Add your branding and your own words
- Add merge variables (shortcodes) where they are offered
- Preview the email before you save
5Check the SMTP status
- Open the Sender tab
- Look at the SMTP status at the top
- Not connected? Click Set up SMTP and connect your email provider
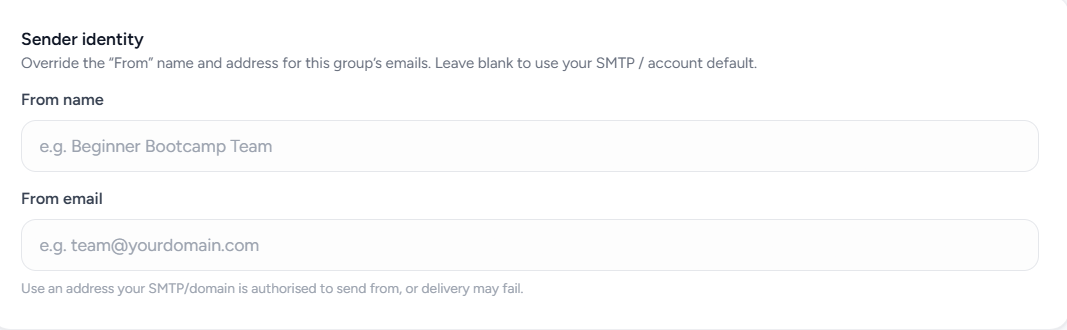
6Set the sender
- By default, emails use the sender from your SMTP account
- Fill these in to use a different sender for this community only
- Good when you run many communities
| Field | What to enter |
|---|---|
| From Name | The name members see in their inbox. Examples: Marketing Community, Your Company Name. Blank: the SMTP default name is used |
| From Email | The sender address, like community@yourdomain.com. Blank: the SMTP default address is used |
From EmailThe address must be on a domain your SMTP provider allows. If not, emails may fail or be rejected.
7Save
- Check From Name and From Email
- Click Save Settings
? Screenshot needed: The Save Settings button on the Sender tab.
You will see: the new sender is used for future emails from this community.
TipsKeep Welcome Email, New Post Published and Admin Posted on. Add Comments, Replies and Mentions for chats. Use Event Reminders for live sessions and Weekly Summary for quiet members. Use a verified branded domain, and review your templates now and then.
Was this article helpful?
That’s Great!
Thank you for your feedback
Sorry! We couldn't be helpful
Thank you for your feedback
Feedback sent
We appreciate your effort and will try to fix the article