FlexiAgent's Live Chat lets you put an AI chat widget on your pages — answered by your own Sales or Support agent, with human takeover whenever you want. The setup works exactly the same way for both agents, so you can follow this one guide for either.
Before You Start
1) Create your knowledge base file using the Vault Knowledge Builder prompts we provide (Sales or Support).
2) Upload the file(s) to the Vault section of your FlexiAgent dashboard.
We have dedicated articles for both steps — see Related Articles at the end of this guide. Once both are done, come back here.
Follow These Steps
Step 1: Open Live Chat
- Log in to your FlexiAgent dashboard.
- Click your account name in the top-right corner and select Live Chat from the menu. The Live Chat setup opens in a new tab.
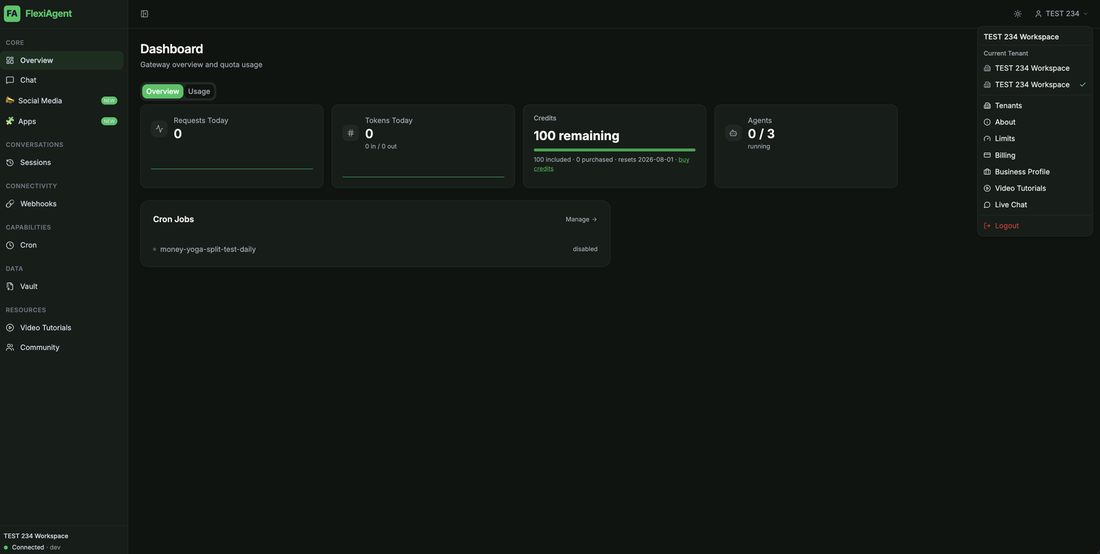
Open the account menu in the top-right corner and click Live Chat
Step 2: Create Your Widget
- In the Add a widget section, enter a Widget name — e.g. "Support" or "Sales".
- In the Answered by dropdown, select the agent that should reply on this widget — the Sales agent for a sales widget, the Support agent for a support widget. Your account may show more than one agent, so pick the one you built this widget for.
- Click Create widget.
You can create multiple widgets the same way — for example, one per product or one per purpose (Support and Sales) — each answered by a different agent.
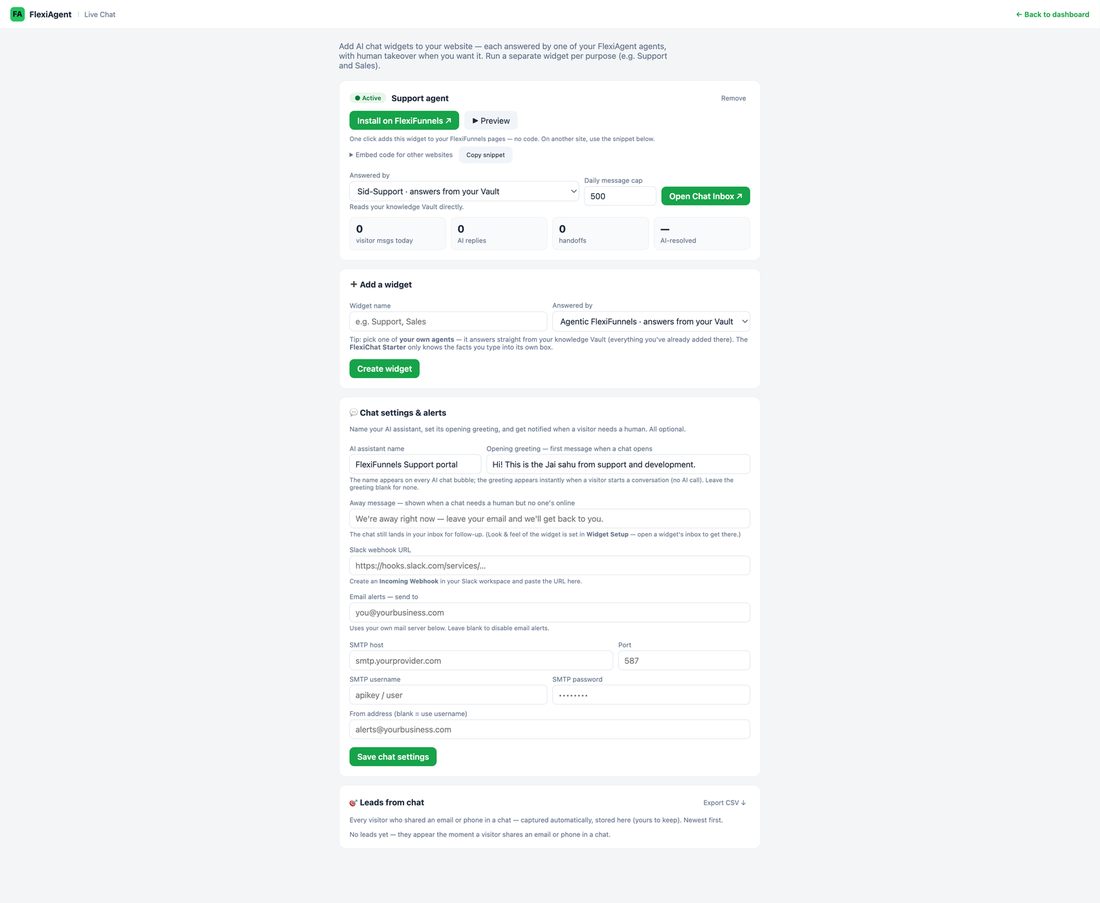
The Live Chat dashboard — create widgets, set the assistant name and greeting, and install on your pages
Step 3: Name Your Assistant and Set the Opening Greeting
In Chat settings & alerts (also available inside the widget's Widget set up screen):
- AI assistant name — the name that appears on every AI chat bubble, e.g. "Agent Helper AI Assistant".
- Opening greeting — the first message a visitor sees the moment a chat opens, e.g. "Hey! I'm an AI assistant. Ask me anything, and I'll help you out."
- Optionally set an away message, Slack webhook, or email alerts so you're notified when a visitor needs a human.
- Click Save chat settings.
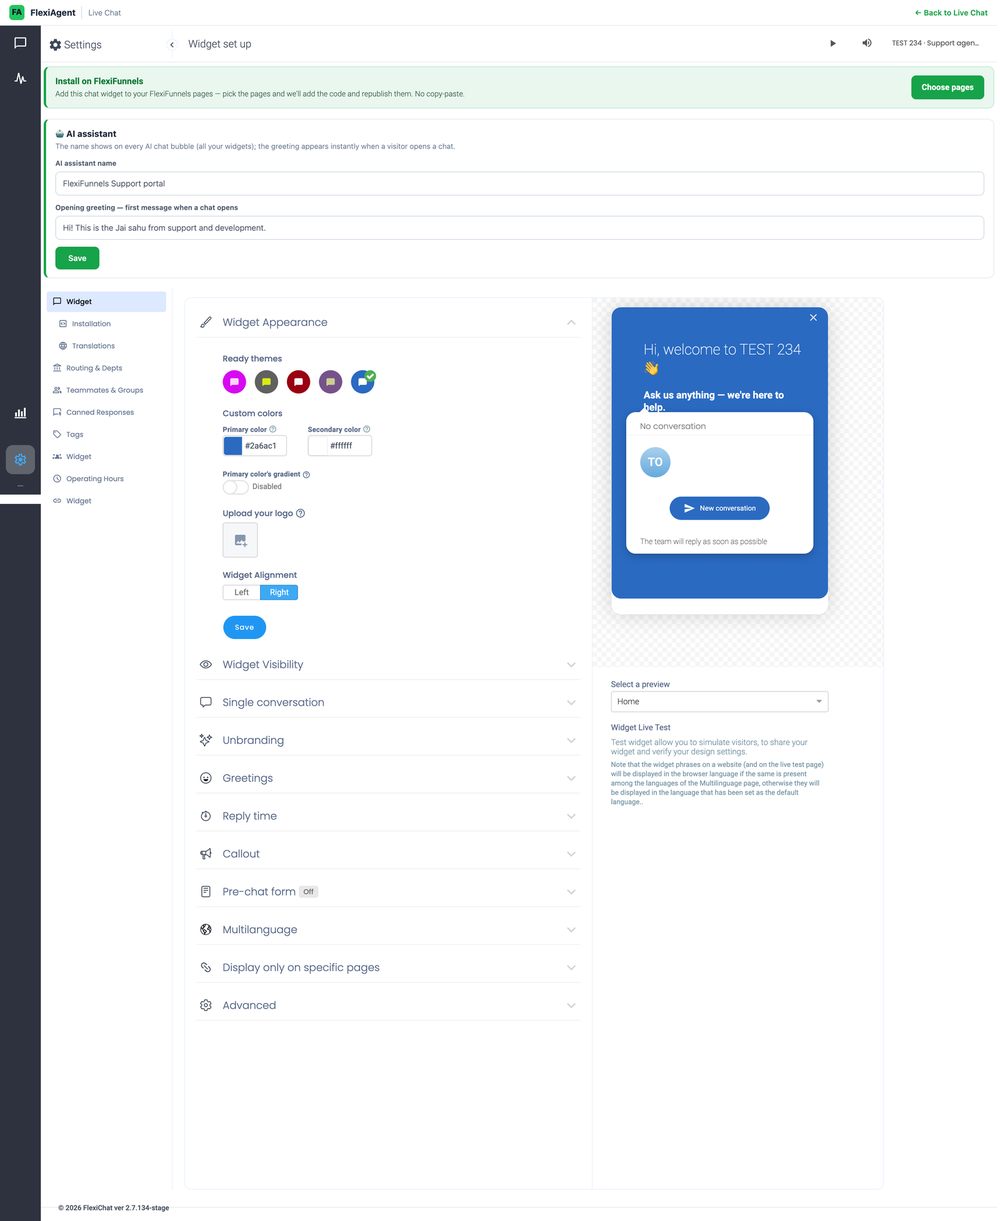
The Widget set up screen — assistant name, greeting, and appearance options with a live preview
Step 4: Preview and Test
- Click the Preview button on your widget.
- The widget takes a couple of seconds to appear after the page loads. Click New conversation — you should see your new assistant name and opening greeting.
- Send a test message like "I want some help." If your agent replies, it's connected correctly and you're ready to install it on your pages.
Step 5: Install the Widget on Your Pages
There are two ways to install, depending on where your pages are hosted.
Option A — Install on FlexiFunnels (one click, no code)
- Click Install on FlexiFunnels on your widget. It loads the projects from your FlexiFunnels account.
- Select the FlexiFunnels project that contains your page.
- Under Select pages, tick the page(s) where you want the widget.
- Click Add widget to selected. Installing republishes the page on FlexiFunnels and clears its CDN cache, so it goes live right away.
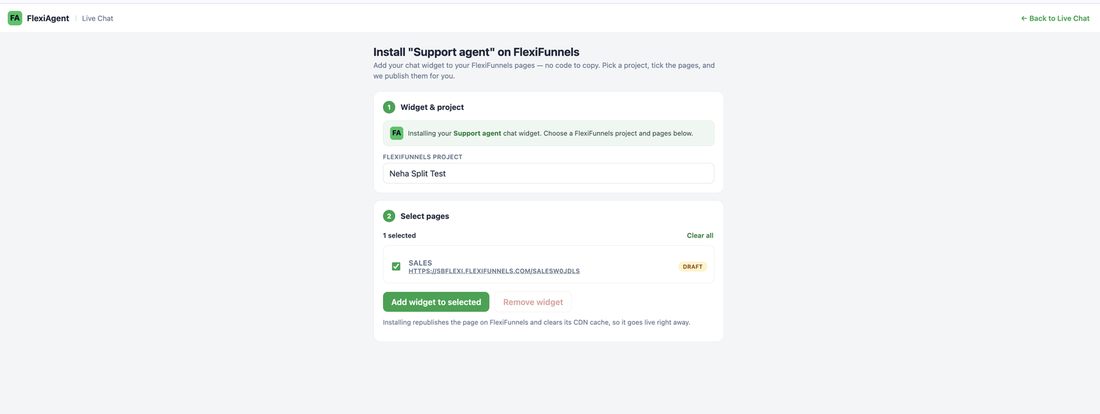
Pick a project, tick the pages, and click Add widget to selected
Option B — Any Other Website (embed code)
If your page is hosted somewhere other than FlexiFunnels:
- On your widget, click Embed code for other websites and then Copy snippet.
- Open the page editor of the tool you use and paste the snippet into the page's head or body code section. (In FlexiFunnels, this is the Heading Code functionality — head, body, and body start.)
- Save and publish the page — the widget gets embedded as soon as the page is live.
The Installation section in Settings also has step-by-step guides for popular platforms — Google Tag Manager, Shopify, WordPress, PrestaShop, Joomla, Magento, Wix, and BigCommerce.
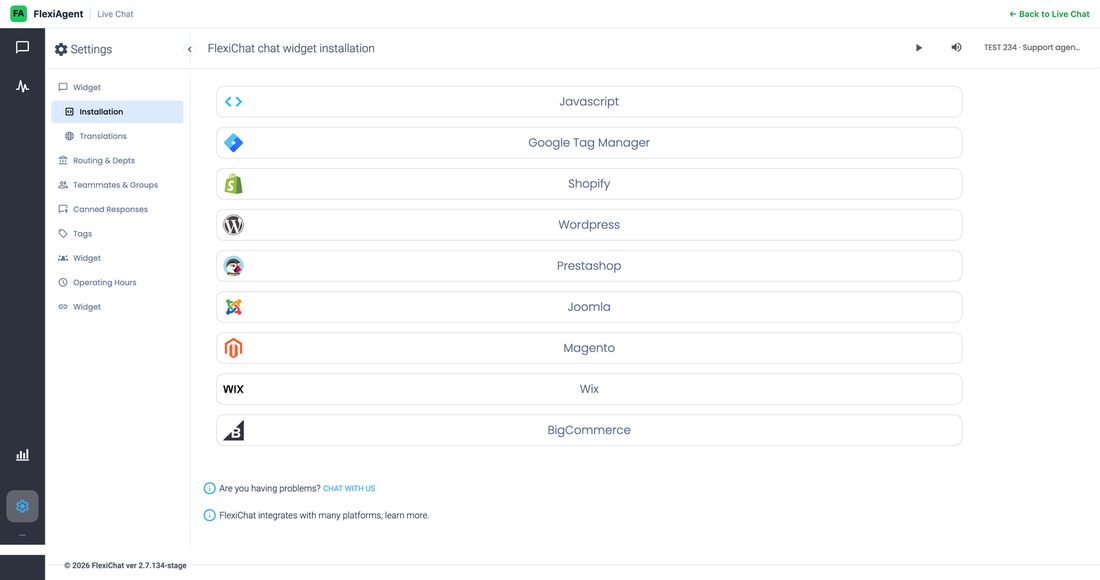
Installation guides for JavaScript embed, Google Tag Manager, Shopify, WordPress, and more
Step 6: Verify It's Working and Monitor Conversations
- Open your published page. The widget usually appears within 2–5 seconds of the page loading. If you don't see it, hard-refresh the page or test in an incognito window — it's usually just browser cache.
- Start a conversation and send a test question. You should get a reply from your agent.
- To see the conversations your agent is having, go back to your FlexiAgent dashboard and open the Sessions tab — every chat and reply is logged there.
- Inside Live Chat, the real-time Conversations panel shows active visitors and whether chats are assigned to humans or AI; the chat tool (inbox) is where you or your team reply when taking over from the AI.
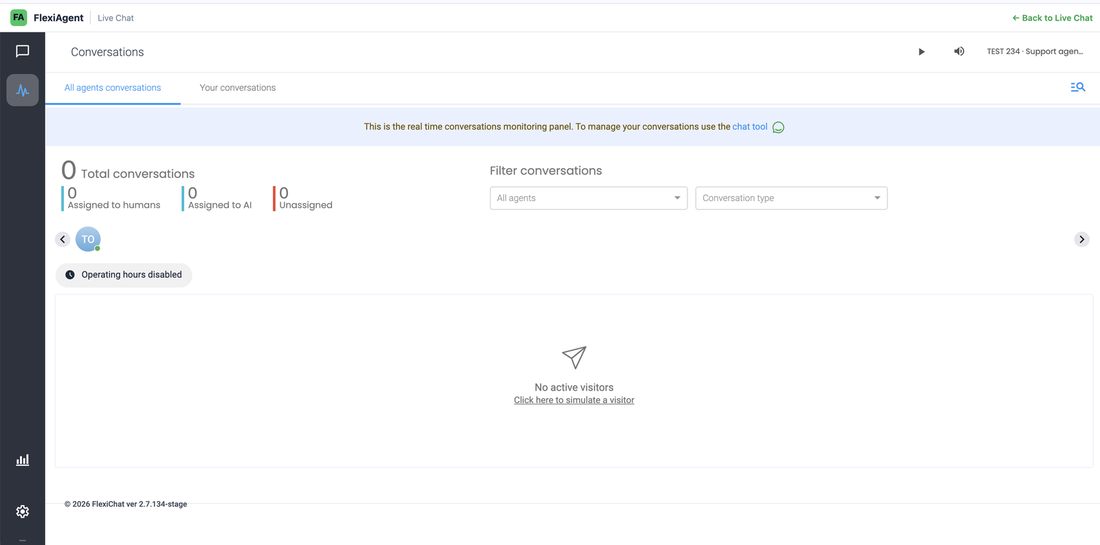
The real-time Conversations monitoring panel
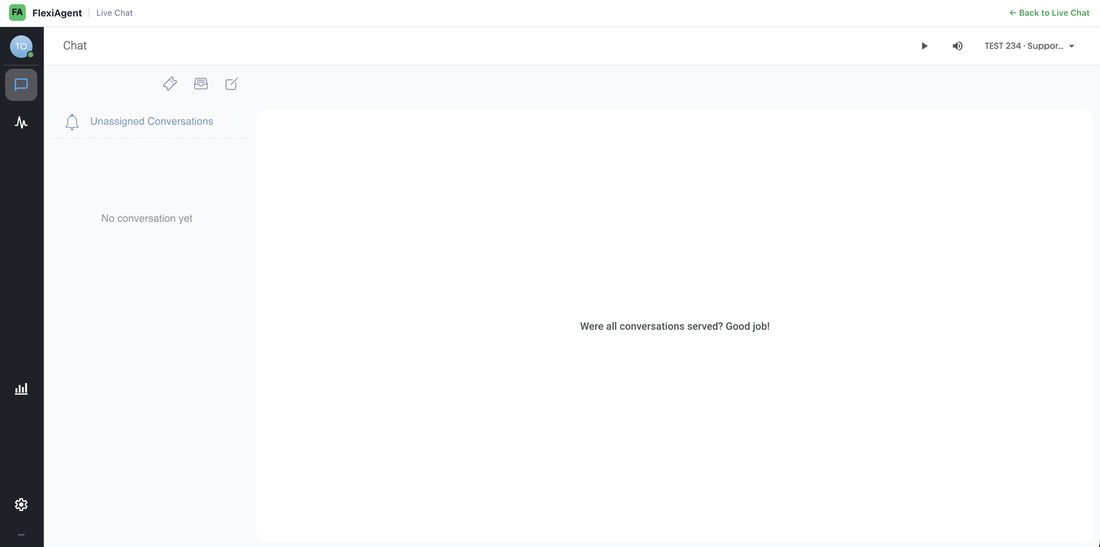
The chat inbox where your team manages and replies to conversations
Optional: Fine-Tune Your Widget Before Launch
Everything below lives under the Settings (gear) icon inside Live Chat. None of it is required, but it's worth a look before you go live:
- Widget appearance — themes, brand colors, your logo, and left/right alignment (shown in the Widget set up screen above).
- Teammates & Groups — invite human agents so they can take over conversations from the AI.
- Canned Responses — pre-made replies your human agents can insert by typing "/" during a chat.
- Routing & Depts — create departments (e.g. Sales, Billing) with their own agents and routing rules.
- Translations — edit every widget phrase, or add more languages for multilingual pages.
- Operating Hours — set when your human team is available; outside those hours the away message is shown.
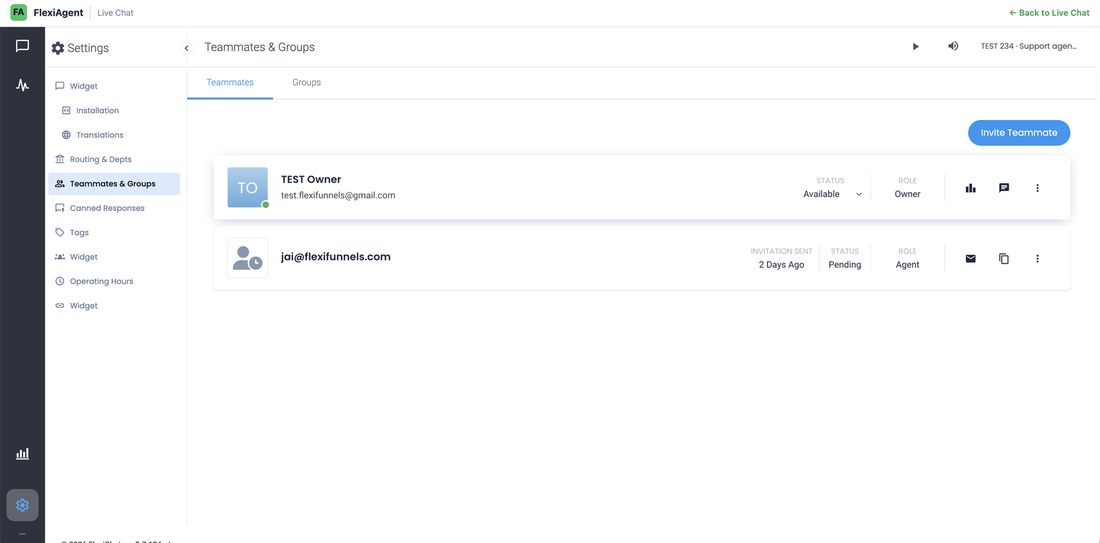
Teammates & Groups — invite human agents for live takeover
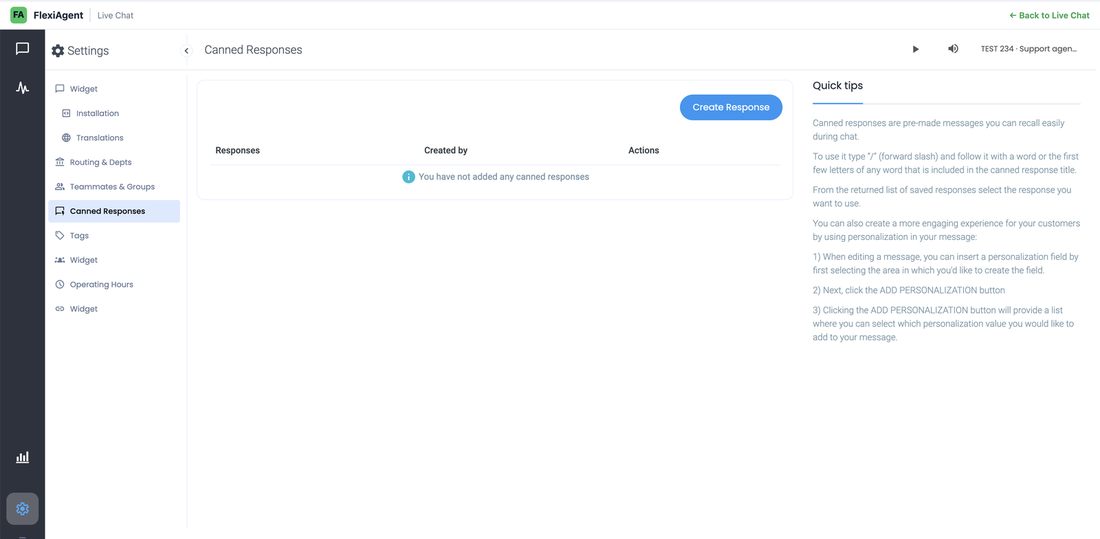
Canned Responses — recall saved replies during a chat by typing "/"
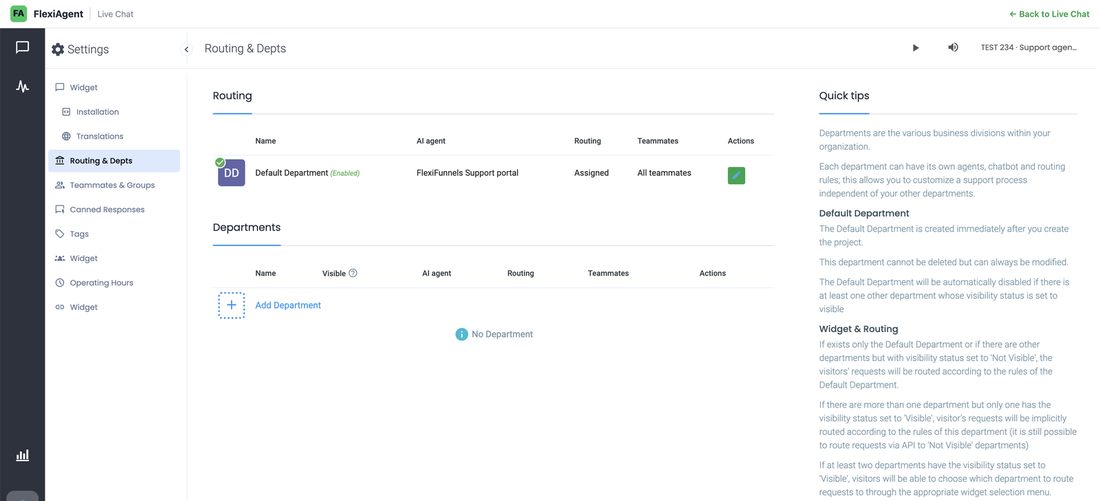
Routing & Departments — route visitors to the right team
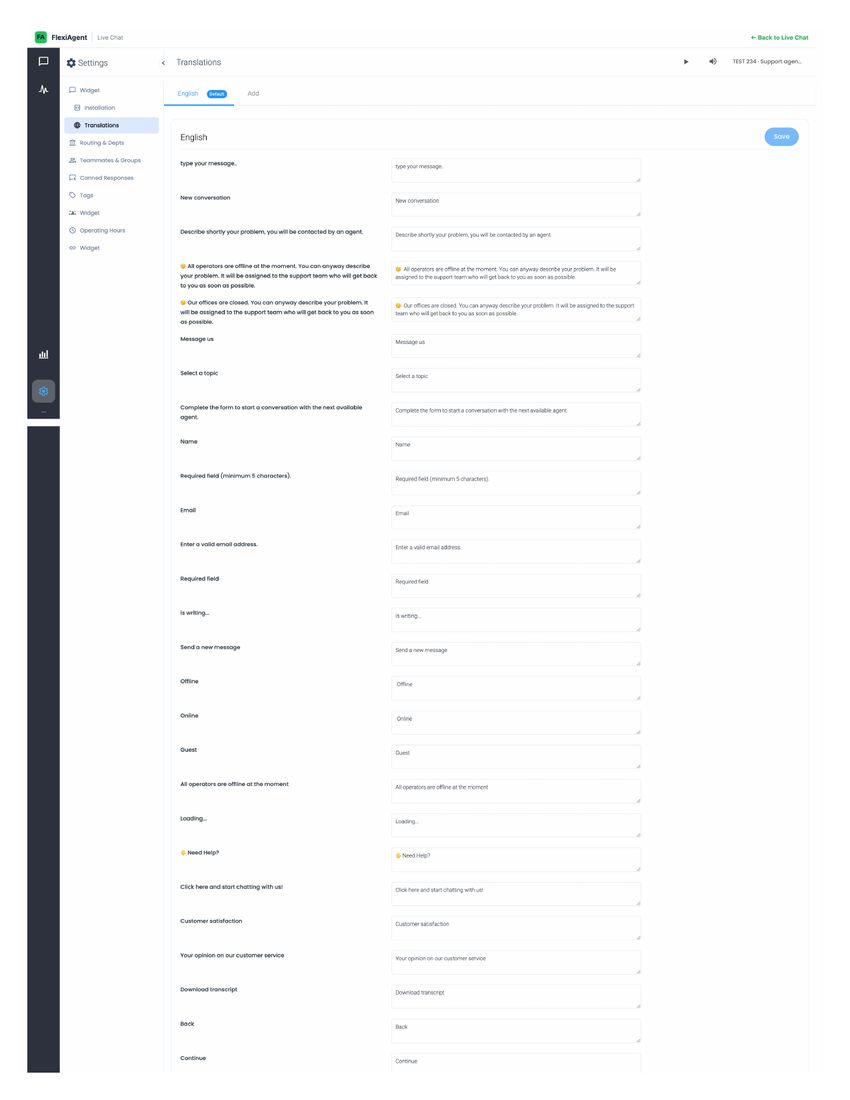
Translations — customize every widget phrase or add languages
Quick Recap
- Create your knowledge base file with our given prompts.
- Upload the file(s) to the Vault.
- Open Live Chat from your FlexiAgent dashboard and create a widget — name it and select your agent.
- Set the assistant name and opening greeting, then save.
- Click Preview and test the conversation.
- Install — one click on FlexiFunnels pages, or copy the embed snippet for any other platform.
- Verify on the live page and monitor chats from the Sessions tab and Live Chat inbox.
That's the entire setup — simple and non-technical. Your agent is now live on your pages: answering queries, bringing in sales, and handling support on automation.
Was this article helpful?
That’s Great!
Thank you for your feedback
Sorry! We couldn't be helpful
Thank you for your feedback
Feedback sent
We appreciate your effort and will try to fix the article